

How to create Holiday Gift Tags with Adobe Fresco, Adobe Fresco Tutorial
I hope it’s not too early to start prepping for the holidays! I know some of you have already started buying gifts for your loved ones, and you must be thinking of ways to make it more presentable and add a personal touch to it. In this tutorial, we will explore how to create holiday gift tags using Adobe Fresco.
Pin it for later!

Download the template and color palette here:
If you want to know how I bring my color palette into fresco, watch the beginning of this video.
Fonts used in the Holiday Gift Tags (in the order it was created):
- Gratitude Script Pro
- Arial Round MT
- Coronette
- Liza Display Pro
- Paralucent
- AdornS Condensed
- Arial
- Blockhead OT (BlackFace)
Watch the Video tutorial on how to create Holiday Gift tags in Adobe Fresco:
If you cannot view the video, you can find it here. While you are there, don’t forget to hit subscribe!
Here’s a quick recap on how to create Holiday Gift tags in Adobe Fresco:
- Create a A4 size canvas as we will be printing our tags on an A4 size paper.
- Now we will create the tag shapes. But before that create a new layer and fill it with a dark color so that we can see the tag shapes clearly. Make sure to use a color that will not be used in the illustration or as tag color.
- If you want to use the template provided, click on the image icon and bring in the template.
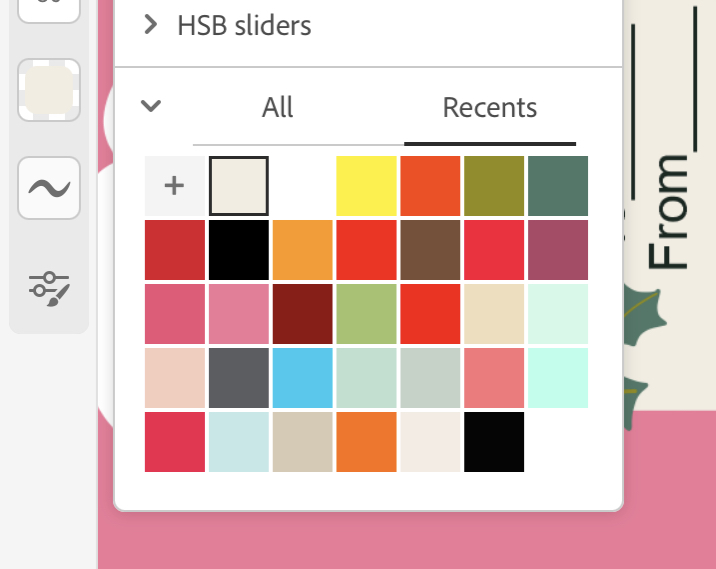
- Bring in the color palette provided above. If you want to know how I bring my color palette into fresco, watch the beginning of this video.
- Use the shape tool to create a rectangle of the desired size. This rectangle will be used as a base for the tags.
- Turn on snap line ON in the settings.
- Draw straight lines to outline where you would like the tag lines to be placed.
- On a separate layer, use the eraser tool to create a tag shape.
- Duplicate the tags and use Transform tool to arrange them on the artboard.
- Now use the fill tool to fill each tag with a different color.
- If you are using white as your tag color, keep in mind that it will hard to find the edge of the tag if you intend to cut the tags out manually using a pair of scissors. An off white color would be a better choice in this case. You need not worry if you are using a machine like Cricut to do your cutting.
- Let’s start drawing our holiday themed artwork on these tag shapes! I have used the Vector Basic brush for all my illustration, brush size has been changed depending on the type of illustration.
- We will draw all the elements on separate layers so that we can make changes later without having to worry about disturbing other elements.
- You can extend your illustration beyond the shape of the tag, but make sure to not go into other tag shapes.
- Also, keep in mind, you will be creating a punch hole on the top of your tag, hence keep this space empty when including texts. It’s ok to include illustration as it doesn’t matter much if it gets clipped.
- Once you finish illustrating, make a duplicate of the file.
- Now open the duplicate file, click on select multiple and select all layers that contain the illustration. Make sure to NOT select the tag shapes layer and the fill layer.
- You can then click on Merge selection and then all the illustration will be on a single layer.
- Now click on the ‘make clipping mask icon’ and all your illustration will get clipped to the tag shape.
- Your tags are ready to be exported as PNG, JPEG or PSD OR sent to illustrator for making further changes.
You can uncheck the background layer and export the tags as a PNG, which can be used in cutting machines like Cricut to ease the process of tag making. I hope you have fun creating these Holiday gift tags and hope the recipients love what you create! The designs shown in this tutorial are very simple and easy to create, but don’t hesitate to experiment on your own!
If you liked this tutorial, don’t forget to check out my previous Adobe fresco tutorial on how to draw QUICK NEGATIVE PAINTING WATERCOLOR FALL LEAVES – ADOBE FRESCO
I also have a whole playlist of Adobe Fresco tutorials on youtube which you can find here and the entire list of tutorials on this blog here.
I hope you have fun exploring this tool. If you get stuck somewhere, don’t forget to leave a comment and I’ll try to help you out! You can also share this post on Facebook and other social media to support me.
How to create Holiday Gift Tags with Adobe Fresco, Adobe Fresco Tutorial


No Comments