

Watercolor Fall Leaves
Fall is nearing its end and it’s high time we draw everything FALL. In today’s tutorial we will learn to illustrate a set of fall leaves in Adobe Fresco. The speciality of this illustration is that we will be using a watercolor technique called as Negative painting to draw this. So, what’s negative painting? Negative painting is a technique in watercolor where you paint the space/region around an object, instead of painting the object itself. With every layer of painting, you will reveal a set of objects, which creates an unique style of painting.
Pin it for later!

Download the resources
Watch the video tutorial on how to paint watercolor fall leaves with negative painting technique
If you cannot view the video, you can find it here. While you are there, don’t forget to hit subscribe!
Here’s how to illustrate the Watercolor Fall Leaves:
- Let’s start by choosing a canvas that’s the size of a small postcard.
- Unlike all our other tutorials, we will not be using any sketch for this tutorial. But in case you feel like you would like some extra support, you can download the sketch from the download button provided above.
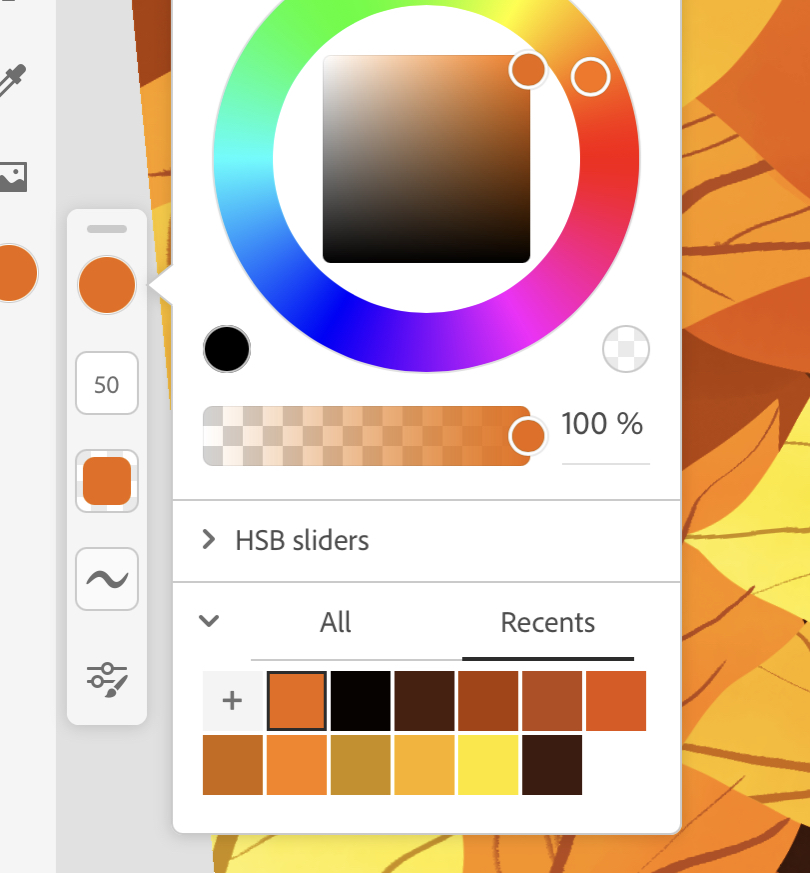
- Bring in the color palette into Fresco, if you want to use the same color scheme as mine. If you don’t know how to do that, watch the first few mins of this video where it is explained how this can be done.
- The brushes that we will be using this tutorial are Watercolor brush and Belgian comics (you can find this under pixel brushes > Ink.
- The watercolor brush should be set to 100 FLOW and at the maximum size.
- We will first choose the lightest yellow and paint the whole artboard.
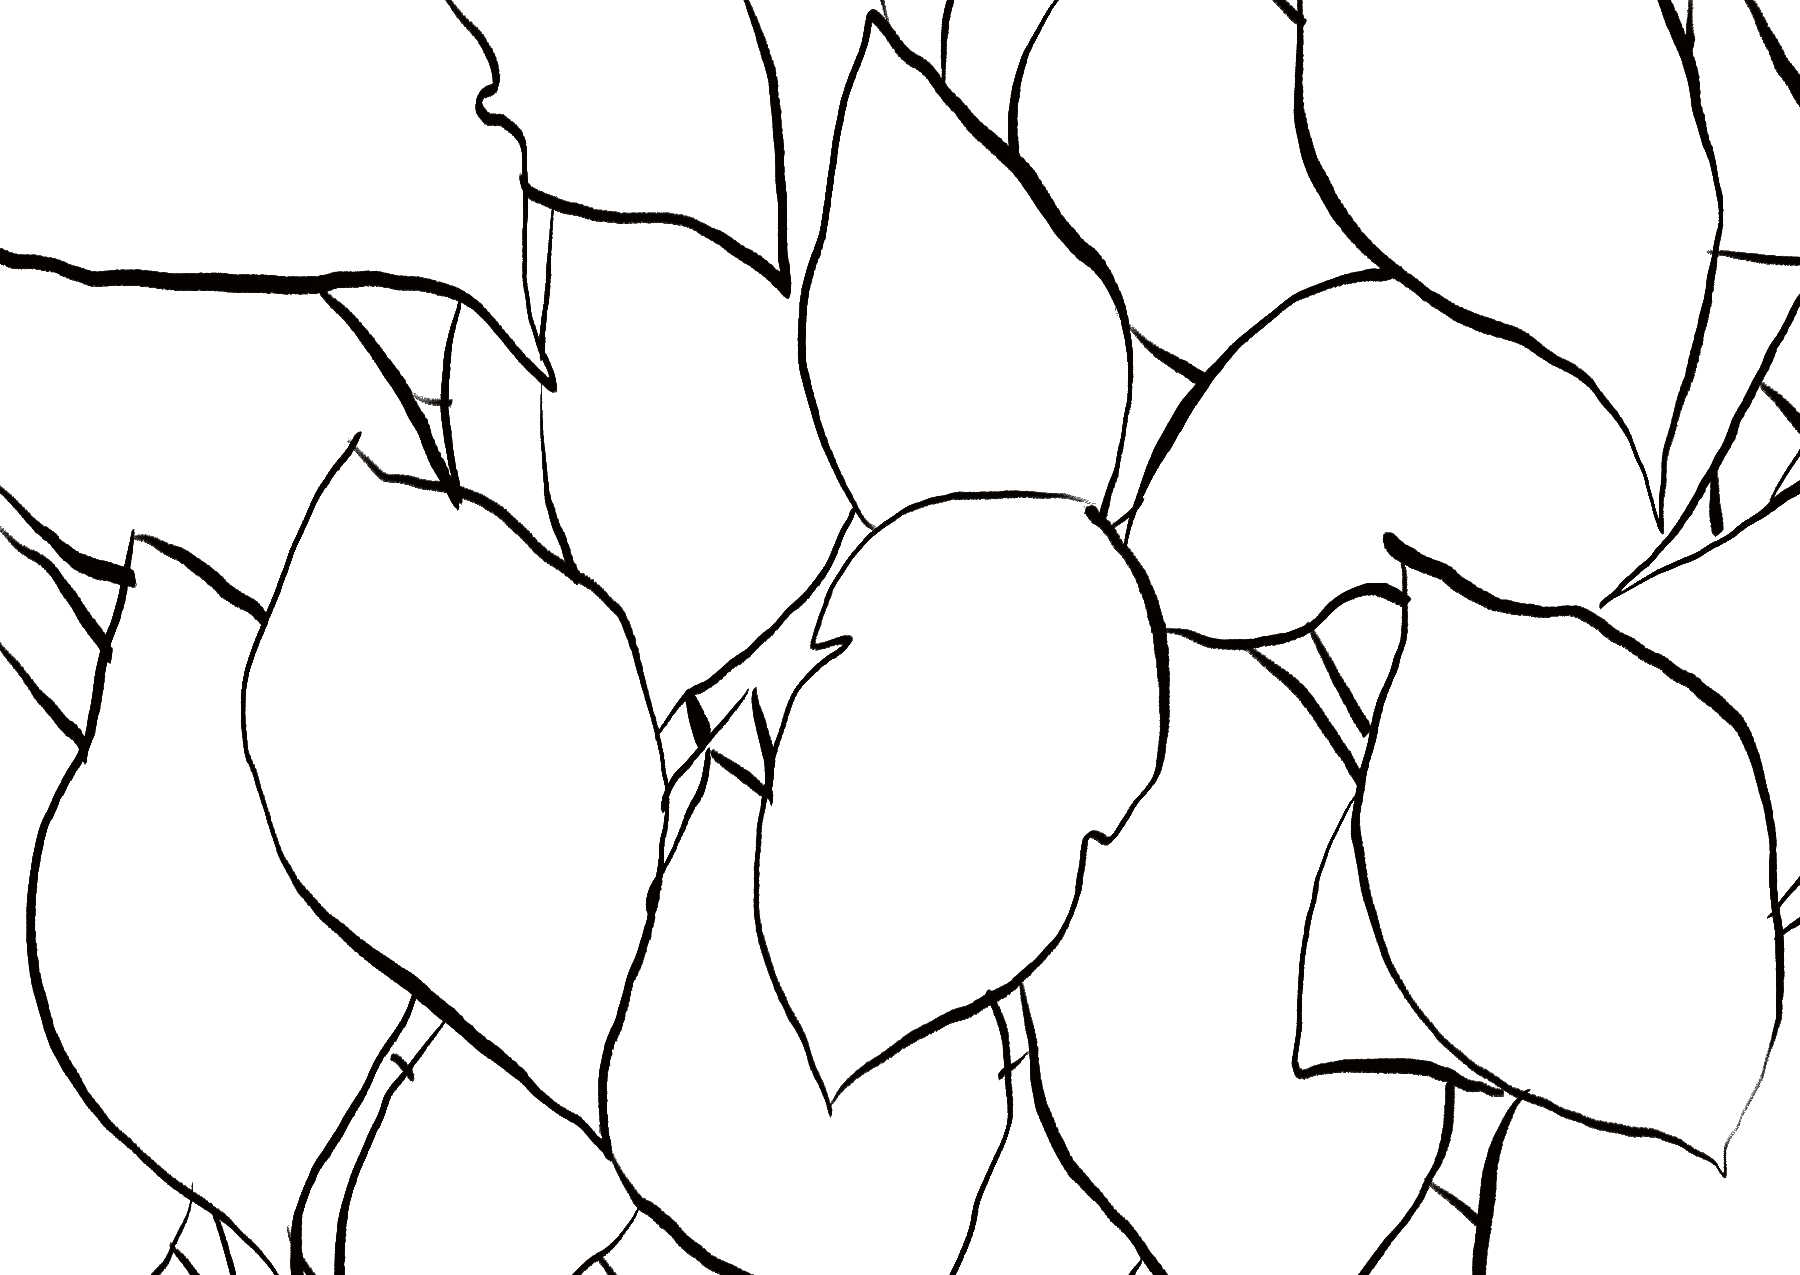
- Create a new layer and use the selection tool to draw leaves across the artboard. Make sure the leaves don’t overlap each other.
- Now click on ‘more’ under the selection tool settings and click on ‘Invert selection’. This endures that the areas other than the leaves are selected.
- Now pick a darker color from the palette and paint the whole surface. This makes the leaves pop on the artboard. Now you have essentially painted around the leaves, instead of painting the actual leaves. We will use this technique through out the tutorial.
- Now click on ‘more’ and ‘invert selection’ to go back to selecting the leaves.
- Click on new layer, choose the Belgian comics brush, take a darker color and draw some veins on the leaves. Since the leaves are still selected, you need not worry about crossing the edge of the leaves.
- Now, without deselecting the areas, click on a new layer. We will keep the selection ON until the end of the illustration. If you deselect by mistake, you can always use your two finger tap to undo your deselection.
- Now we will draw few more leaves and proceed to click on invert selection. Use a darker color and paint the whole area.
- We will continue working in the same manner as described above until we have almost no space to draw new leaves. Watercolor Fall Leaves
- You can stop drawing the veins after a certain layer, especially when it gets more challenging to stay within the leaves.
- Once your watercolor fall leaves is ready, export the artwork as a PNG or JPEG and enjoy your illustration as a wallpaper or print and frame it to adorn your walls!
If you liked this tutorial, don’t forget to check out my previous tutorial on how to draw a realistic looking watercolor Blueberry branch in Adobe Fresco.
I also have a whole playlist of Adobe Fresco tutorials on youtube which you can find here and the entire list of tutorials on this blog here.
I hope you have fun exploring this tool. If you get stuck somewhere, don’t forget to leave a comment and I’ll try to help you out! You can also share this post on Facebook and other social media to support me.
Watercolor Fall Leaves


2 Comments
How to create Holiday Gift Tags with Adobe Fresco - Print Me Some Color
November 10, 2020 at 5:45 pm[…] If you liked this tutorial, don’t forget to check out my previous Adobe fresco tutorial on how to draw QUICK NEGATIVE PAINTING WATERCOLOR FALL LEAVES – ADOBE FRESCO […]
How to draw Koi Fish in Adobe Fresco - Print Me Some Color
November 17, 2020 at 4:13 pm[…] If you liked this tutorial, don’t forget to check out my previous Adobe fresco tutorial. […]