Drawing a flamingo can be a delightful and rewarding experience, especially with the powerful tools available in Adobe Fresco. This video tutorial will take you step-by-step through the process, from setting up your workspace to adding the final touches that bring your flamingos to life. Whether you’re a beginner or an experienced artist, you’ll find tips and techniques to enhance your digital drawing skills.
Download these before you begin this Adobe Fresco Tutorial
Click here for the watercolor texture. You can use ‘cold press actic’ or ‘cold press off white’. These are not mine, but some amazing person on the internet uploaded them for free. Thank you stranger!
Watch the youtube tutorial here:
If you liked this video and want to learn more about Fresco, I have a whole playlist of Adobe Fresco tutorials on youtube which you can find here and the entire list of tutorials on this blog here.
I hope you have fun exploring this tool. If you get stuck somewhere, don’t forget to leave a comment and I’ll try to help you out! You can also share this post on Facebook and other social media to support me or buy me a Coffee at Ko-fi.com/printmesomecolor
If you create any artwork using one of my tutorials, don’t forget to share it on Instagram and tag me @printmesomecolor. I love looking at your work and it motivates me to create more tutorials!
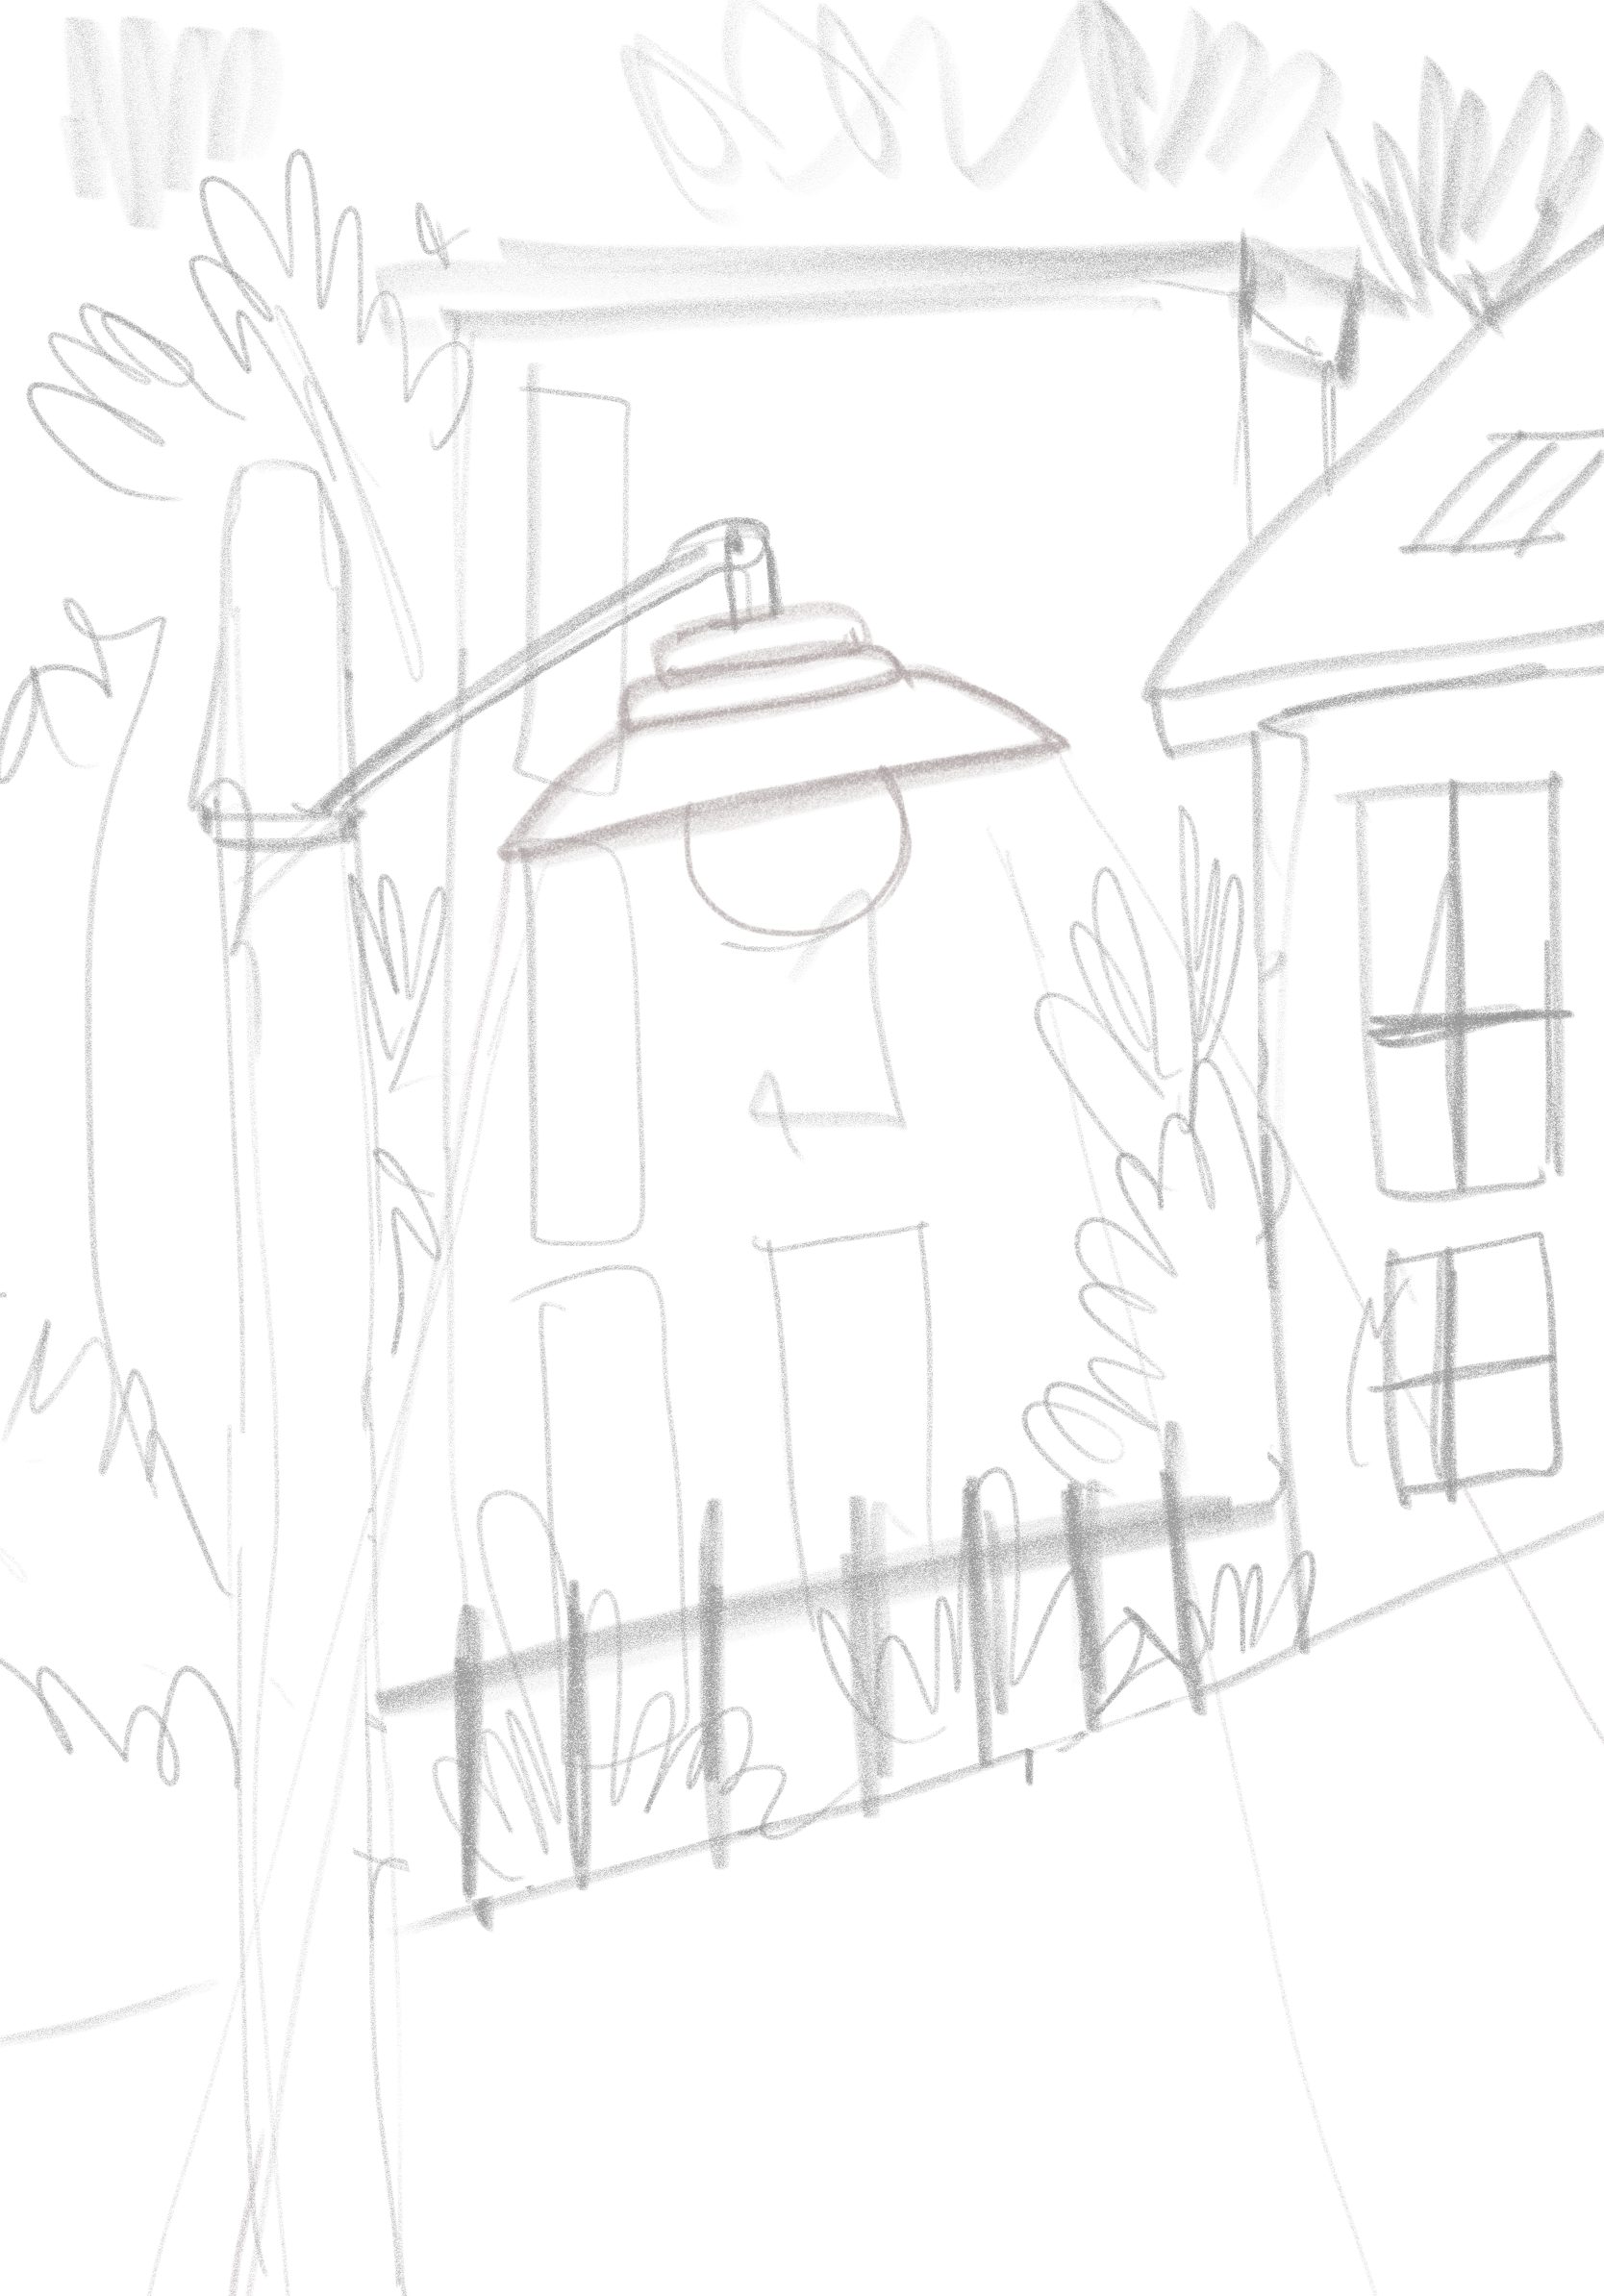
Adobe Fresco offers a versatile platform for artists to bring their creations to life through animation. In this tutorial, we’ll walk through the process of drawing and animating a charming streetlight scene using Adobe Fresco. Let’s get started!
Download everything you need to make this animated streetlight
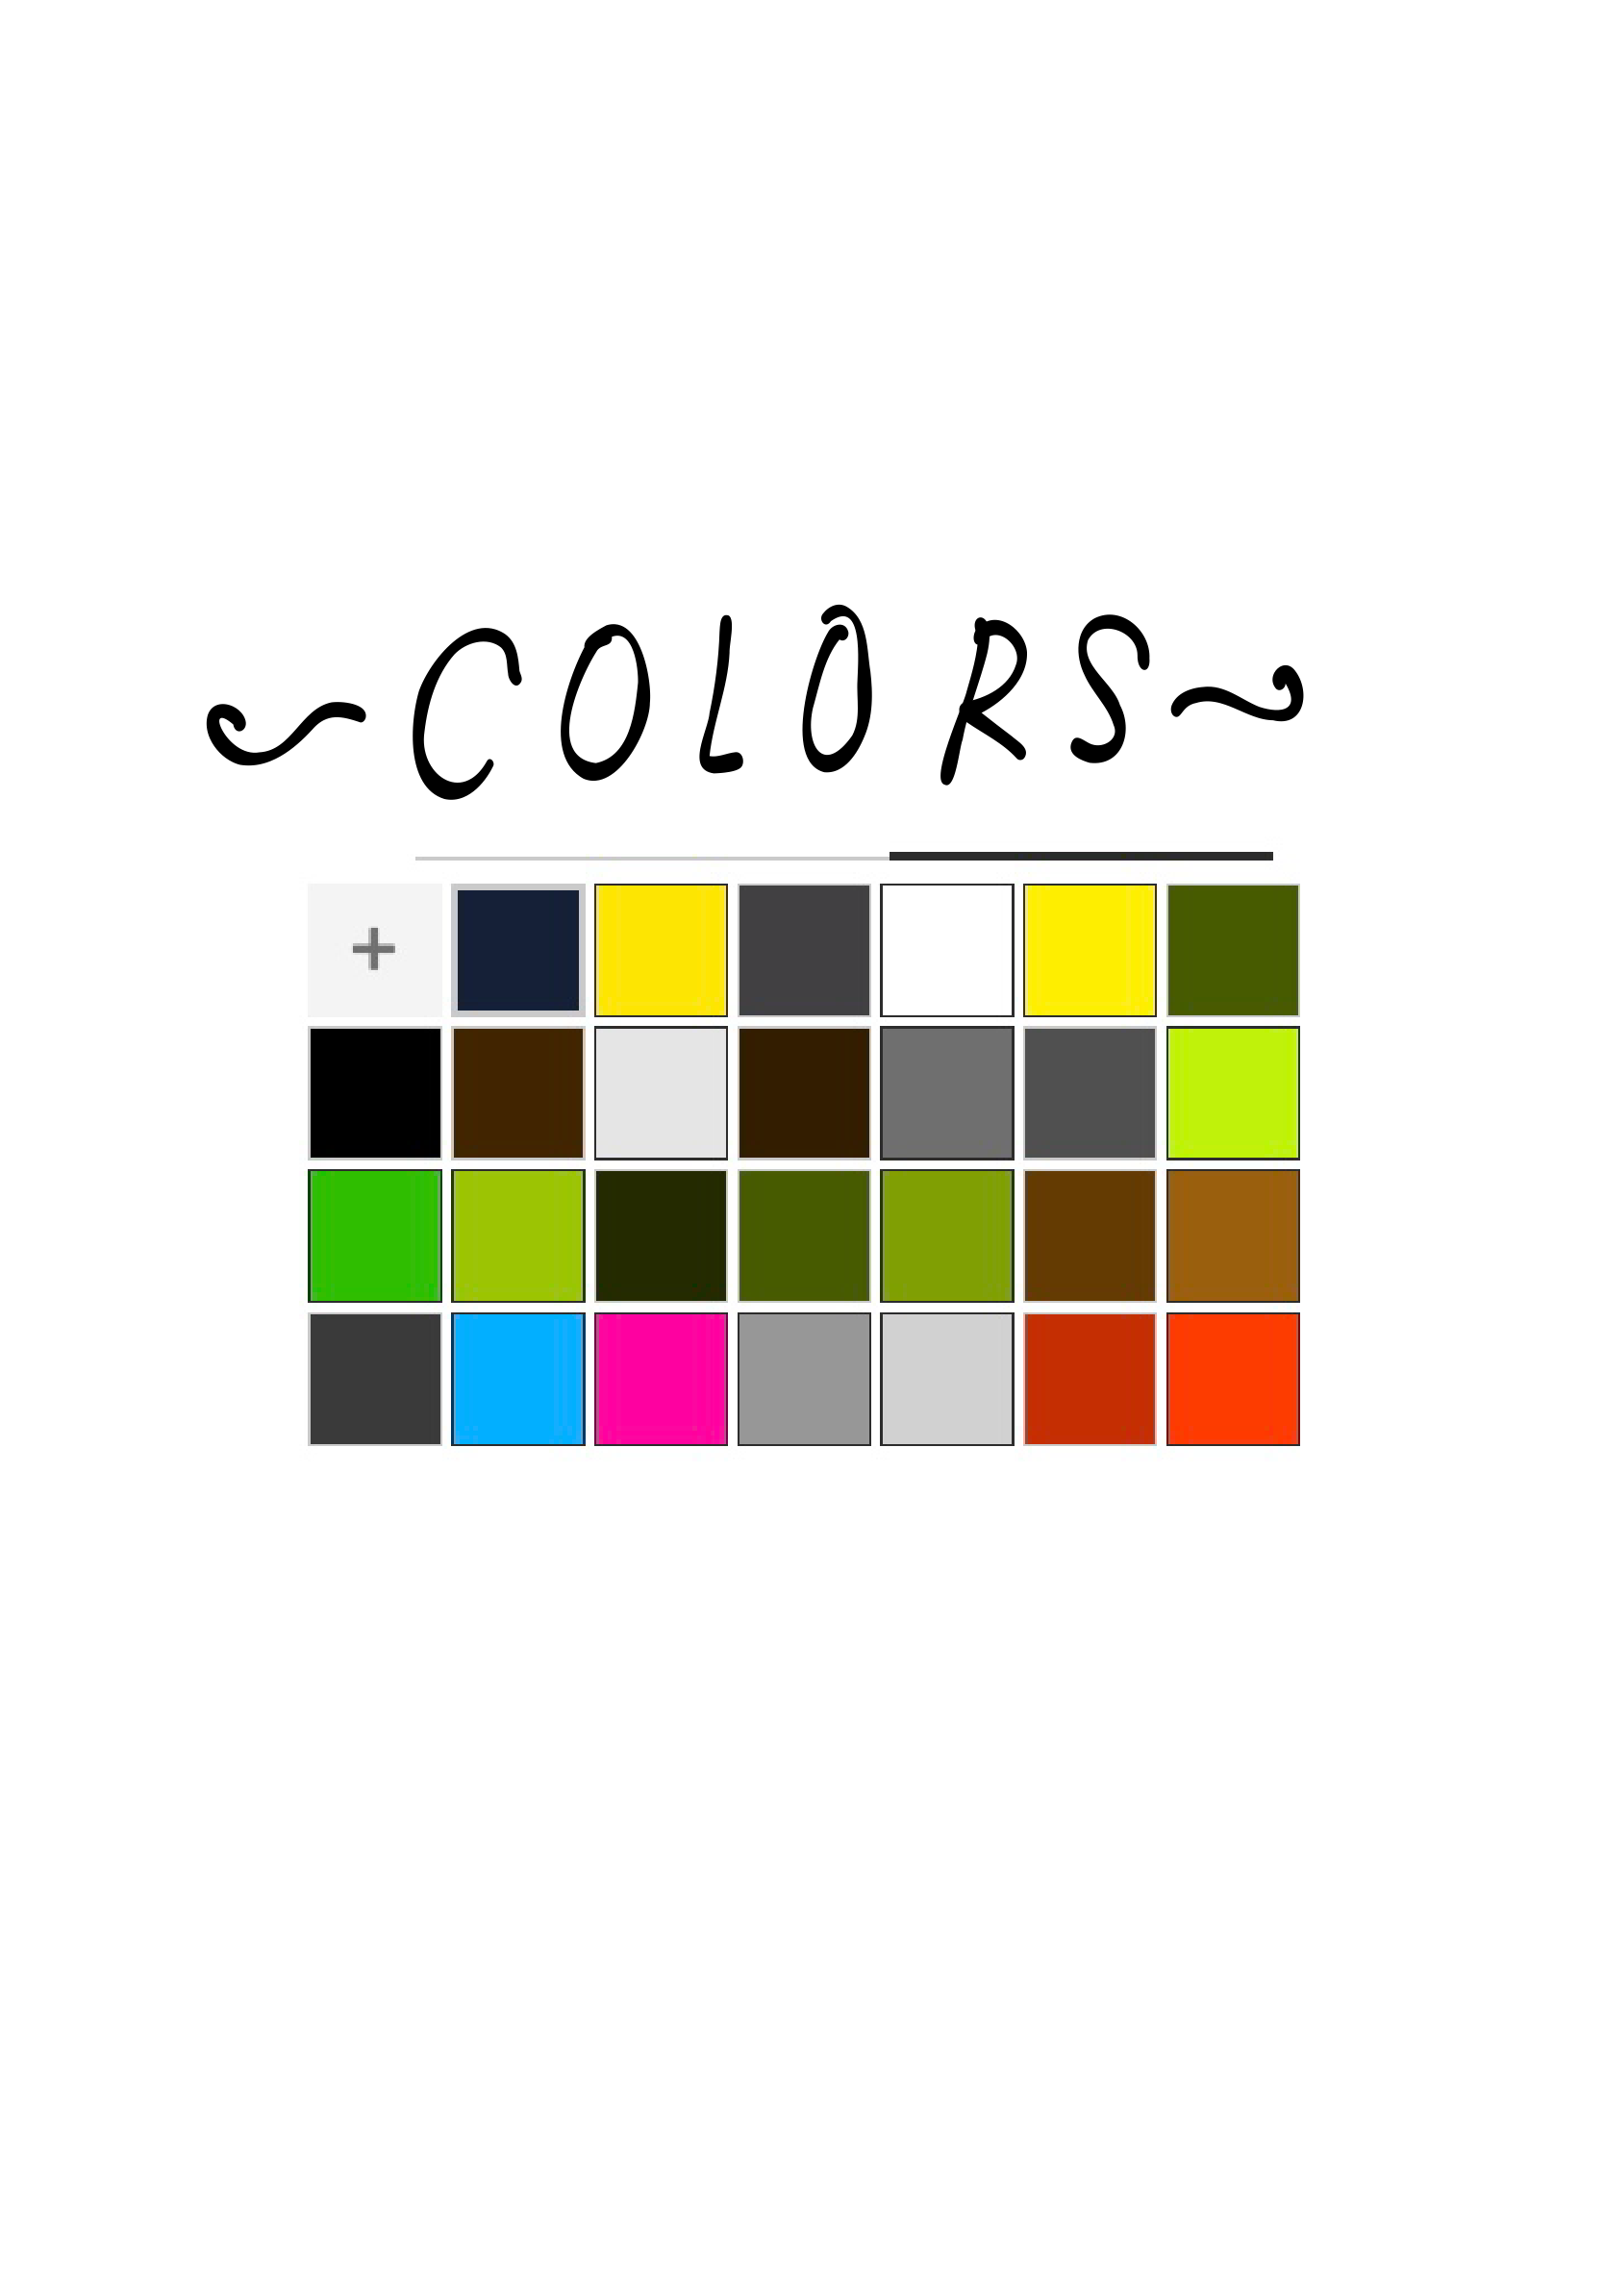
I have used the following sketch and colors in my adobe fresco tutorial. You can download them onto your device and bring it into Fresco.
Download the texture here. I have used the Linen Finish. These are not mine, but some amazing person on the internet uploaded them for free. Thank you stranger!
Watch the video tutorial for ADOBE FRESCO Animated Streetlight
If you cannot view the video, you can watch it here. While you are there, don’t forget to hit subscribe!
If you liked this video and want to learn more about Fresco, I have a whole playlist of Adobe Fresco tutorials on youtube which you can find here and the entire list of tutorials on this blog here.
I hope you have fun exploring this tool. If you get stuck somewhere, don’t forget to leave a comment and I’ll try to help you out! You can also share this post on Facebook and other social media to support me or buy me a Coffee atKo-fi.com/printmesomecolor
If you create any artwork using one of my tutorials, don’t forget to share it on Instagram and tag me @printmesomecolor. I love looking at your work and it motivates me to create more tutorials!
With Adobe Fresco, creating animated illustrations like a charming streetlight scene is both fun and rewarding. By following these steps and experimenting with different techniques, you can bring your artistic vision to life in no time. Happy animating!
If you would like to check out more animation tutorials, you can find them on my youtube channel here.
If you cannot view the video, you can watch it here. While you are there, don’t forget to hit subscribe!
If you liked this video and want to learn more about Fresco, I have a whole playlist of Adobe Fresco tutorials on youtube which you can find here and the entire list of tutorials on this blog here.
I hope you have fun exploring this tool. If you get stuck somewhere, don’t forget to leave a comment and I’ll try to help you out! You can also share this post on Facebook and other social media to support me or buy me a Coffee at Ko-fi.com/printmesomecolor
If you create any artwork using one of my tutorials, don’t forget to share it on Instagram and tag me @printmesomecolor. I love looking at your work and it motivates me to create more tutorials!
To summarize, Adobe Fresco is a powerful digital painting and drawing app that allows artists to bring their imagination to life. While primarily known for its painting capabilities, Fresco also offers a range of features for creating simple animations. If you would like to check out more animation tutorials, you can find them on my youtube channel here.
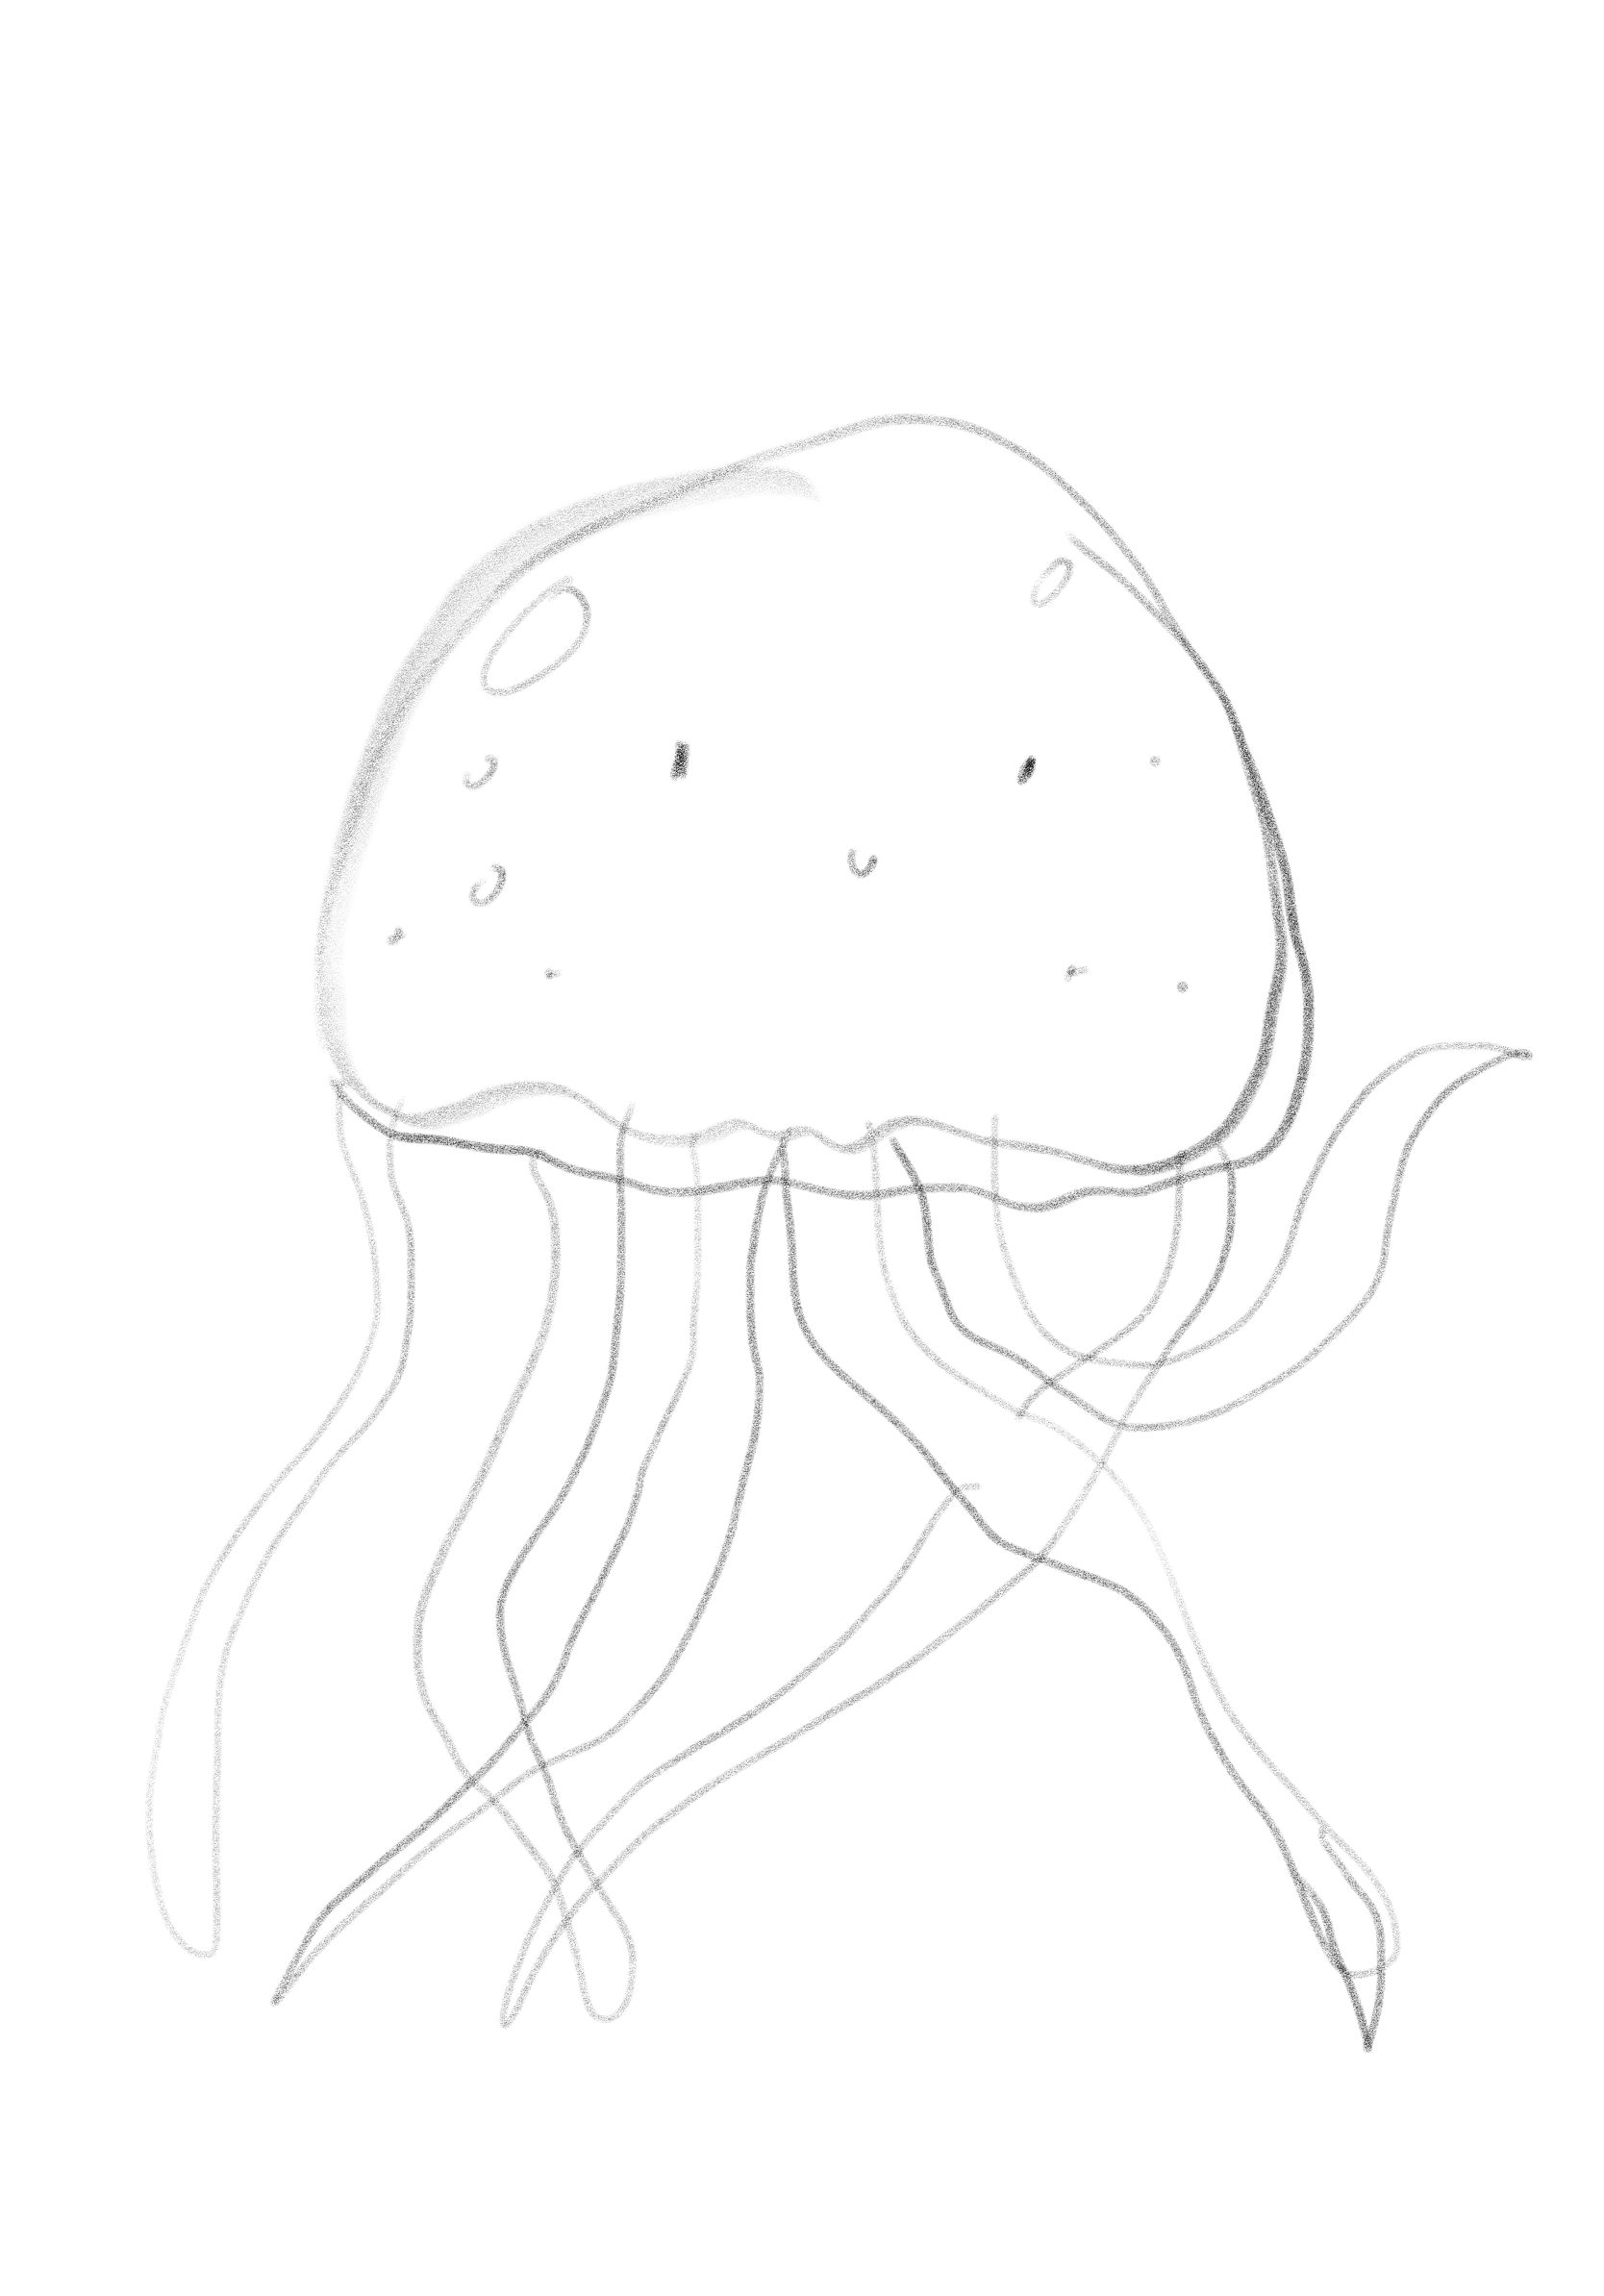
Creating a jellyfish illustration in Adobe Fresco can be a fun and creative process. This is a super easy beginner friendly tutorial on how to draw a cute Jellyfish with Adobe Fresco.
Click here for the watercolor texture. You can use ‘cold press actic’ or ‘cold press off white’. These are not mine, but some amazing person on the internet uploaded them for free. Thank you stranger!
Watch the youtube tutorial here:
If you cannot view the video, you can watch it here. While you are there, don’t forget to hit subscribe!
If you liked this video and want to learn more about Fresco, I have a whole playlist of Adobe Fresco tutorials on youtube which you can find here and the entire list of tutorials on this blog here.
I hope you have fun exploring this tool. If you get stuck somewhere, don’t forget to leave a comment and I’ll try to help you out! You can also share this post on Facebook and other social media to support me or buy me a Coffee at Ko-fi.com/printmesomecolor
If you create any artwork using one of my tutorials, don’t forget to share it on Instagram and tag me @printmesomecolor. I love looking at your work and it motivates me to create more tutorials!
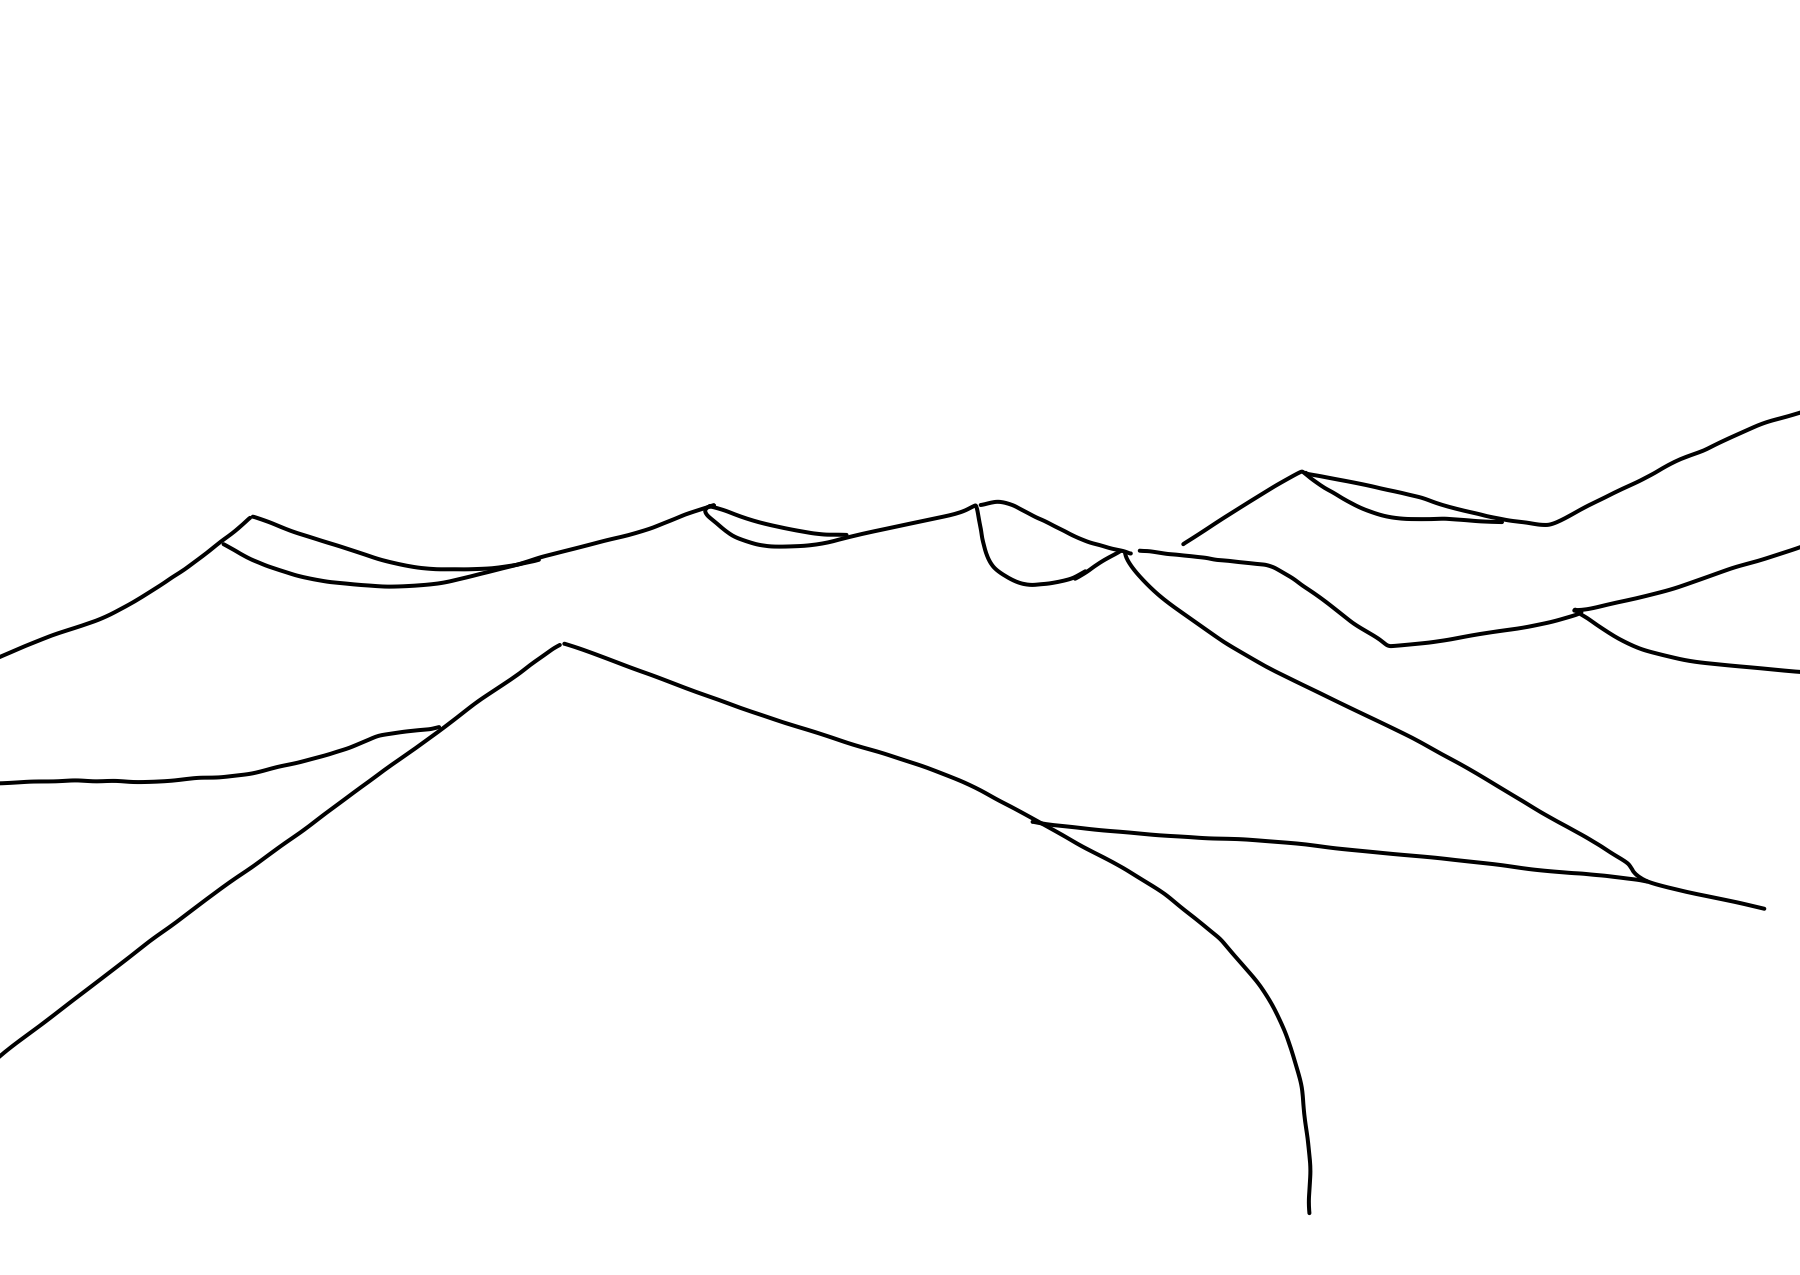
Adobe Fresco is a powerful digital painting and illustration app that offers a seamless blend of raster and vector tools, making it an excellent choice for creating captivating landscape illustrations. Whether you’re a beginner or an experienced artist, this guide will walk you through the steps to create a beautiful landscape illustration using Adobe Fresco.
Click here to download the textures, the one I used is called Grungy Canvas. These are not mine, but some amazing person on the internet uploaded them for free. Thank you stranger!
Watch the video tutorial here
Creating a landscape illustration with Adobe Fresco is an enjoyable and rewarding process. By leveraging the app’s versatile brushes, layers, and blending tools, you can bring your creative vision to life and produce stunning landscapes that captivate viewers. Experiment with different techniques, explore the vast array of brushes, and most importantly, have fun expressing your artistic flair in the digital realm.
The Namibian desert, with its mesmerizing dunes, vast open spaces, and unique color palette, has long been a source of inspiration for artists and photographers worldwide. Capturing the essence of this stunning landscape through digital painting can be a rewarding and creative endeavor. Adobe Fresco, a powerful digital painting and drawing app, is an excellent tool to bring your vision of the Namibian desert to life. In this article, we’ll guide you through the steps to create a beautiful desert landscape painting using Adobe Fresco.
Download everything you need to make this Digital Painting here
While you are there, don’t forget to hit subscribe!
If you liked this video and want to learn more about Fresco, I have a whole playlist of Adobe Fresco tutorials on youtube which you can find here and the entire list of tutorials on this blog here.
I hope you have fun exploring this tool. If you get stuck somewhere, don’t forget to leave a comment and I’ll try to help you out! You can also share this post on Facebook and other social media to support me or buy me a Coffee at Ko-fi.com/printmesomecolor
If you create any artwork using one of my tutorials, don’t forget to share it on Instagram and tag me @printmesomecolor. I love looking at your work and it motivates me to create more tutorials!
Painting the Namibian desert landscape using Adobe Fresco is a creative and rewarding process that allows you to capture the beauty and serenity of this unique environment. With the right references, attention to detail, and a little practice, you can create stunning digital art that brings the Namibian desert to life on your canvas. So, gather your inspiration and let Adobe Fresco be your artistic tool in capturing the magic of the desert. Happy painting!
If you would like to check out more animation tutorials, you can find them on my youtube channel here.
In this Adobe Fresco tutorial you will learn to create a super easy animation using Reference layers. We know Adobe Fresco primarily as a digital painting and drawing application rather than a dedicated animation software. In Adobe Fresco, you can create frame-by-frame animations using the built-in timeline feature. It allows you to draw on individual frames and play them back as a sequence. You can also adjust the timing and frame rate of the animation.
Download everything you need to create this easy animation
Watch the tutorial on how to create an easy animation with Adobe Fresco
If you cannot view the video, you can watch it here. While you are there, don’t forget to hit subscribe!
If you liked this video and want to learn more about Fresco, I have a whole playlist of Adobe Fresco tutorials on youtube which you can find here and the entire list of tutorials on this blog here.
TIP : Before diving into the digital realm, it’s essential to plan your animation. Determine the concept, story, or idea you want to convey. Decide on the number of frames or steps needed to create a smooth animation. Sketch out the key poses or frames before beginning to draw the actual frames. This is exactly what we do in this tutorial!
I hope you have fun exploring this tool. If you get stuck somewhere, don’t forget to leave a comment and I’ll try to help you out! You can also share this post on Facebook and other social media to support me or buy me a Coffee at Ko-fi.com/printmesomecolor
If you create any artwork using one of my tutorials, don’t forget to share it on Instagram and tag me @printmesomecolor. I love looking at your work and it motivates me to create more tutorials!
To summarize, Adobe Fresco is a powerful digital painting and drawing app that allows artists to bring their imagination to life. While primarily known for its painting capabilities, Fresco also offers a range of features for creating simple animations. If you would like to check out more animation tutorials, you can find them on my youtube channel here.
Adobe Fresco has revolutionized digital painting with its extensive array of brushes and tools. Among its vast selection, oil paint brushes offer a unique and expressive medium for artists to create stunning, lifelike paintings. In this blog post, we’ll explore how to effectively utilize oil paint brushes in Adobe Fresco, enabling you to unlock your creative potential and achieve remarkable results. We will be painting an apple from a reference image, while learning to use these brushes.
You can watch the tutorial on Oil Paint brushes here
If you cannot view the video, you can watch it here. While you are there, don’t forget to hit subscribe!
If you liked this video and want to learn more about Fresco, I have a whole playlist of Adobe Fresco tutorials on youtube which you can find here and the entire list of tutorials on this blog here.
Pin it
If you’re new to Adobe Fresco, it’s essential to familiarize yourself with the basics before diving into the world of oil painting. Take some time to explore the user interface, understand the different brush categories, and experiment with the available tools. You can watch all of my Adobe Fresco tutorials here.
Selecting the Perfect Oil Paint Brush
Adobe Fresco provides several oil paint brushes, each offering distinct textures and effects. Spend some time experimenting with brushes like “Oil Round,” “Oil Flat,” or “Oil Chunky” to identify which brush suits your painting style and desired outcome. Adjust the brush size and opacity to fine-tune your strokes.
Customizing Oil Paint Brushes
To truly make the oil paint brushes your own, utilize Adobe Fresco’s customization options. Adjust the brush properties such as bristle length, angle, stiffness, or blending mode. Tweak settings like pressure sensitivity, flow, or smudge to match your preferred painting technique. Play around with these settings until you achieve the desired texture and effect. And don’t forget to turn ON the reload color option!
Understanding Layers
Layers are a fundamental aspect of digital painting, allowing you to work on different elements of your artwork independently. Create a new layer for each part of your painting, such as the background, foreground, or specific details. This layer-based approach provides flexibility and allows for easy modifications without affecting the rest of your composition. We will do the major part of the apple on a single layer so that we can blend colors without any issue.
Blending and Mixing Colors
One of the most remarkable features of oil paint is its ability to blend and mix colors seamlessly. Adobe Fresco enables you to replicate this effect digitally. Mix colors on the canvas directly by layering them with varying opacity and brush strokes.
Creating Textures and Brushwork
Oil painting is renowned for its unique brushwork and textures. In Adobe Fresco, you can recreate these characteristics with your oil paint brushes. Experiment with different brush strokes, such as long, sweeping strokes for broader areas, or short, stippling strokes for intricate details. Vary the pressure and direction to emulate the nuances of traditional oil painting techniques.
Exploring Additional Tools
Adobe Fresco offers a wide range of additional tools that can enhance your oil painting experience. Experiment with the mixer brush to blend colors and create unique palettes. Use the smudge tool to refine your brushwork further. Explore the different layer effects, such as adding texture overlays or adjusting saturation and contrast, to elevate the overall appearance of your artwork.
Adobe Fresco provides a powerful platform for digital artists to explore and express themselves through oil painting. By selecting the right brushes, customizing their properties, and leveraging the layering system, you can create stunning, lifelike artworks. Remember to experiment, practice, and allow your creativity to flow freely. With Adobe Fresco’s oil paint brushes, your digital paintings will showcase the unique textures and rich qualities of traditional oil paintings.
I hope you have fun exploring this tool. If you get stuck somewhere, don’t forget to leave a comment and I’ll try to help you out! You can also share this post on Facebook and other social media to support me or buy me a Coffee at Ko-fi.com/printmesomecolor
If you create any artwork using one of my tutorials, don’t forget to share it on Instagram and tag me @printmesomecolor. I love looking at your work and it motivates me to create more tutorials!
Watch the video tutorial on how to illustrate a cityscape with Adobe Fresco
Step 1: Set up your canvas
Open Adobe Fresco and create a new document by tapping on the “+” icon or selecting “New Document” from the home screen. Choose the canvas size and resolution that suits your needs. I have used Digital > Current screen size
Step 2: Select the brush and colors
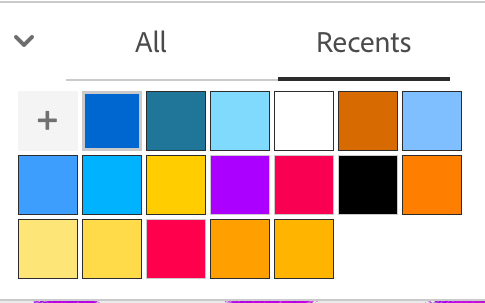
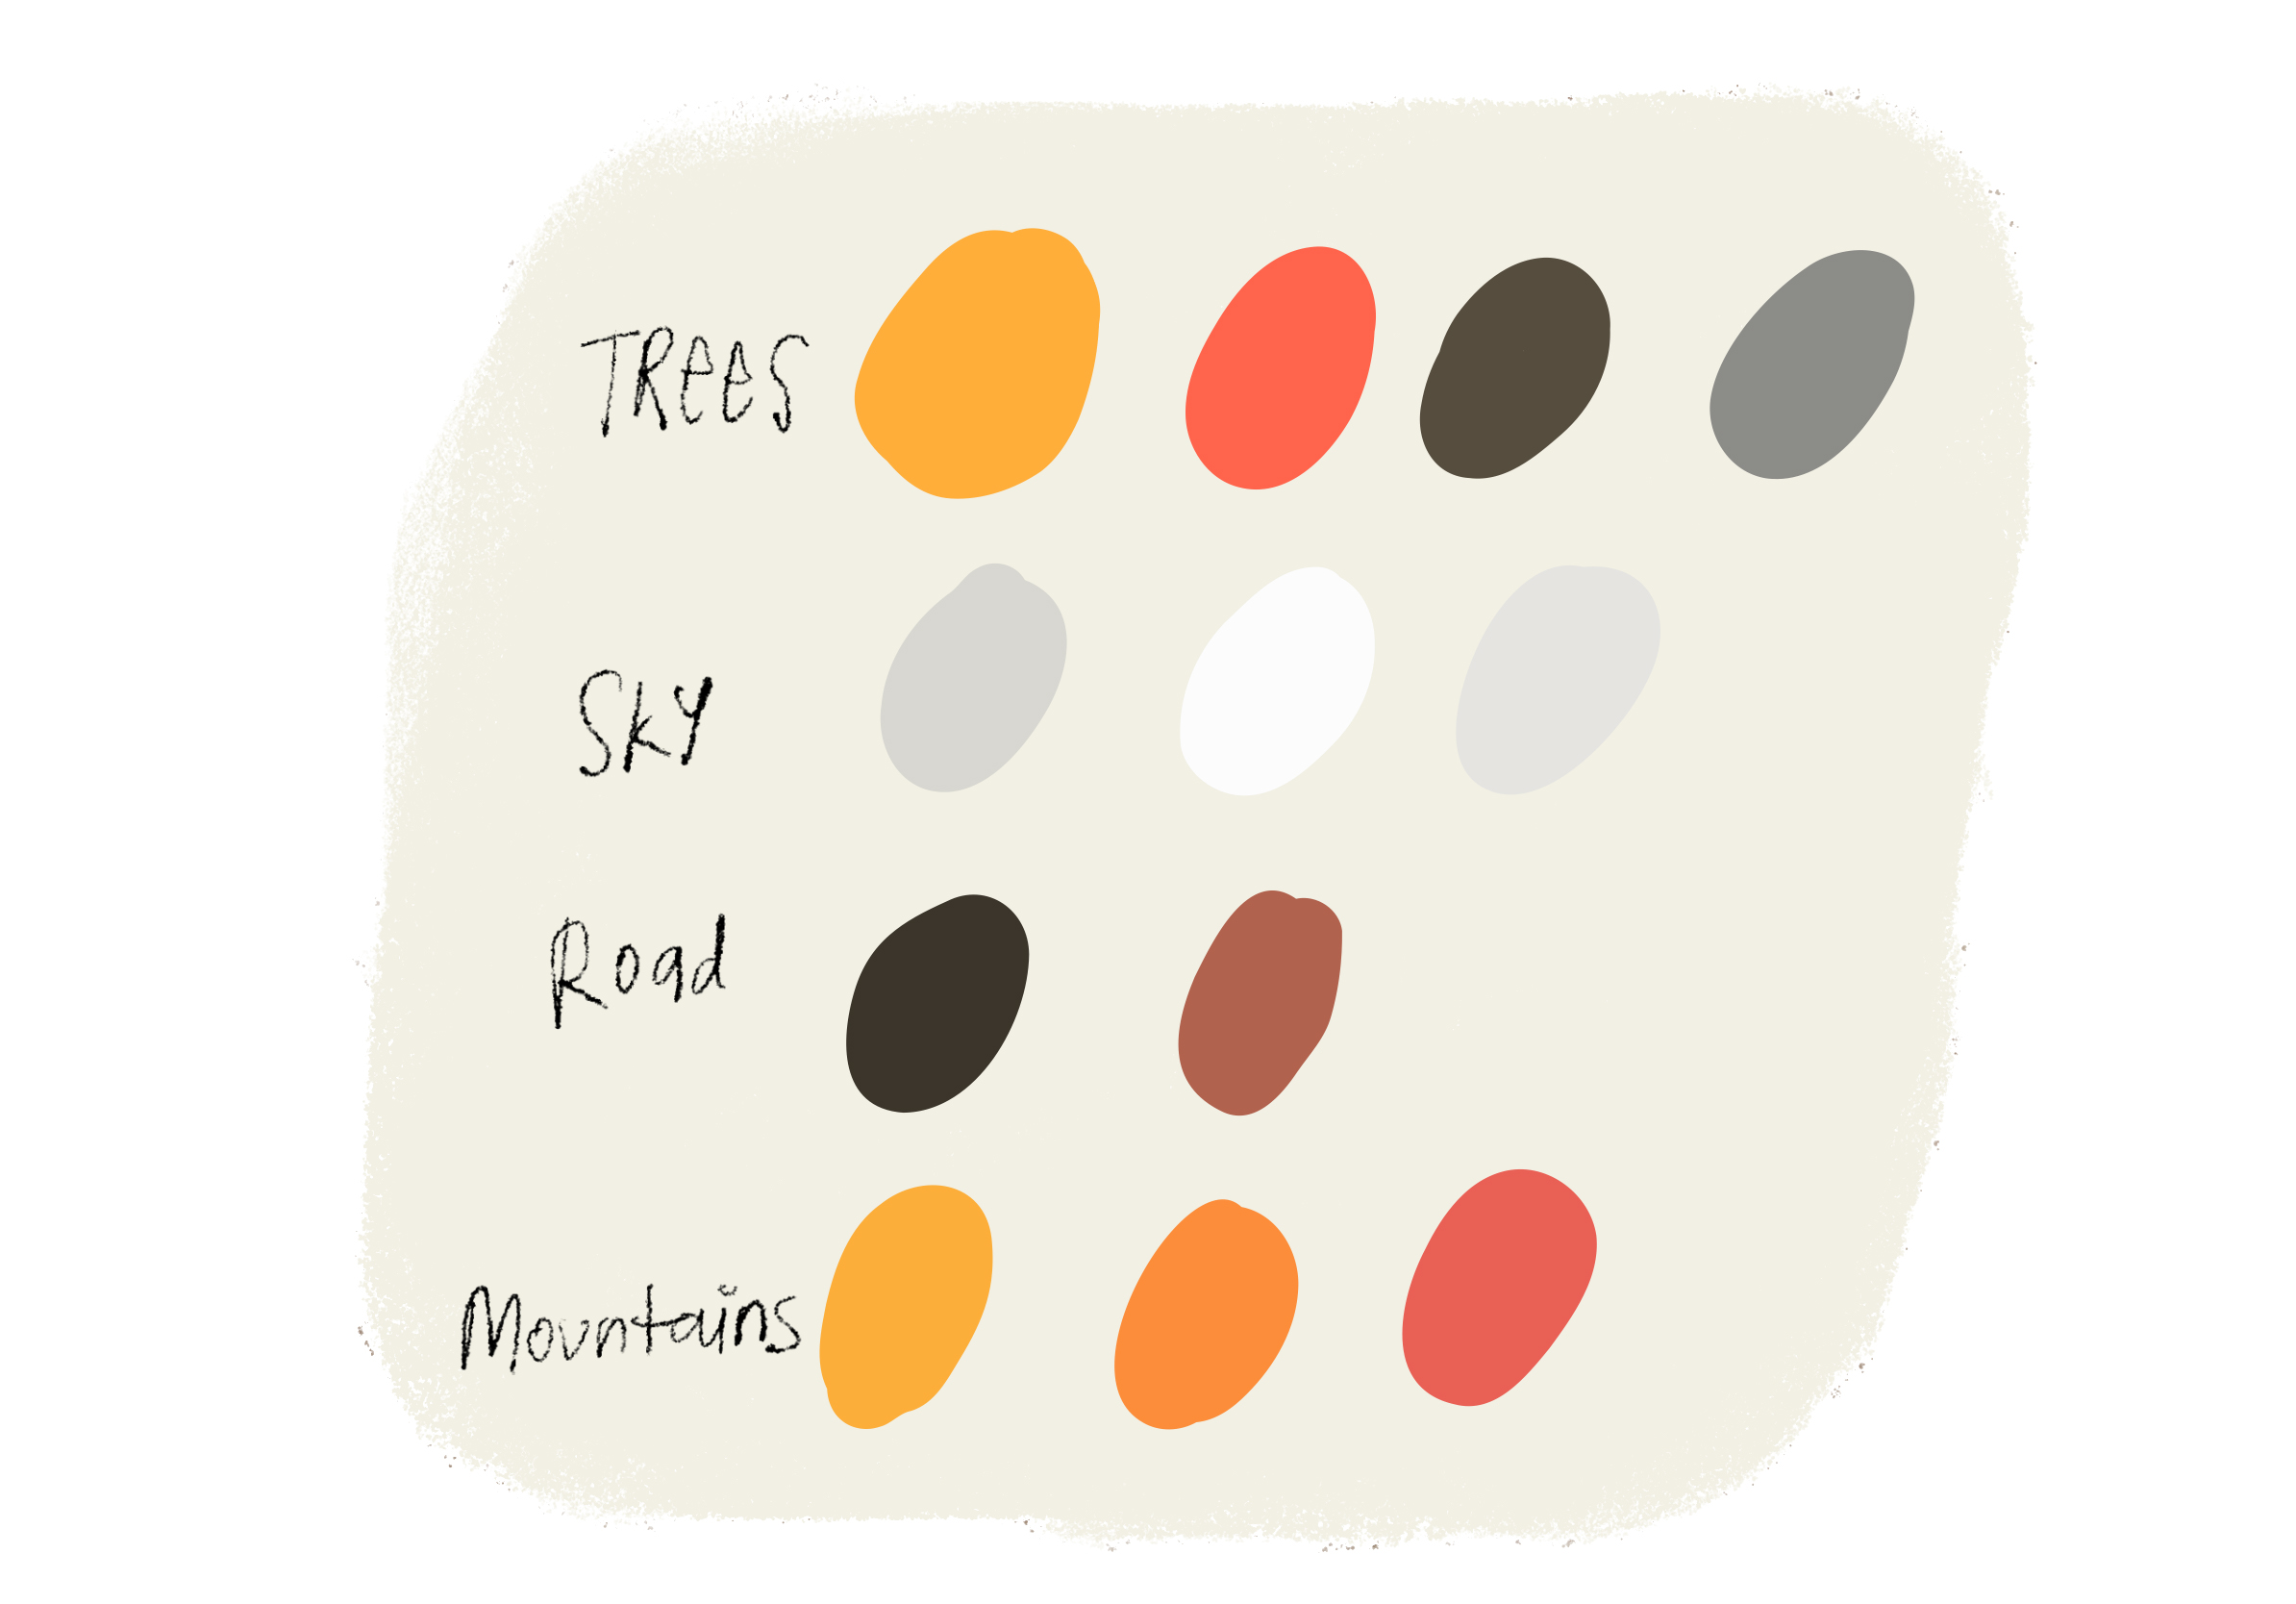
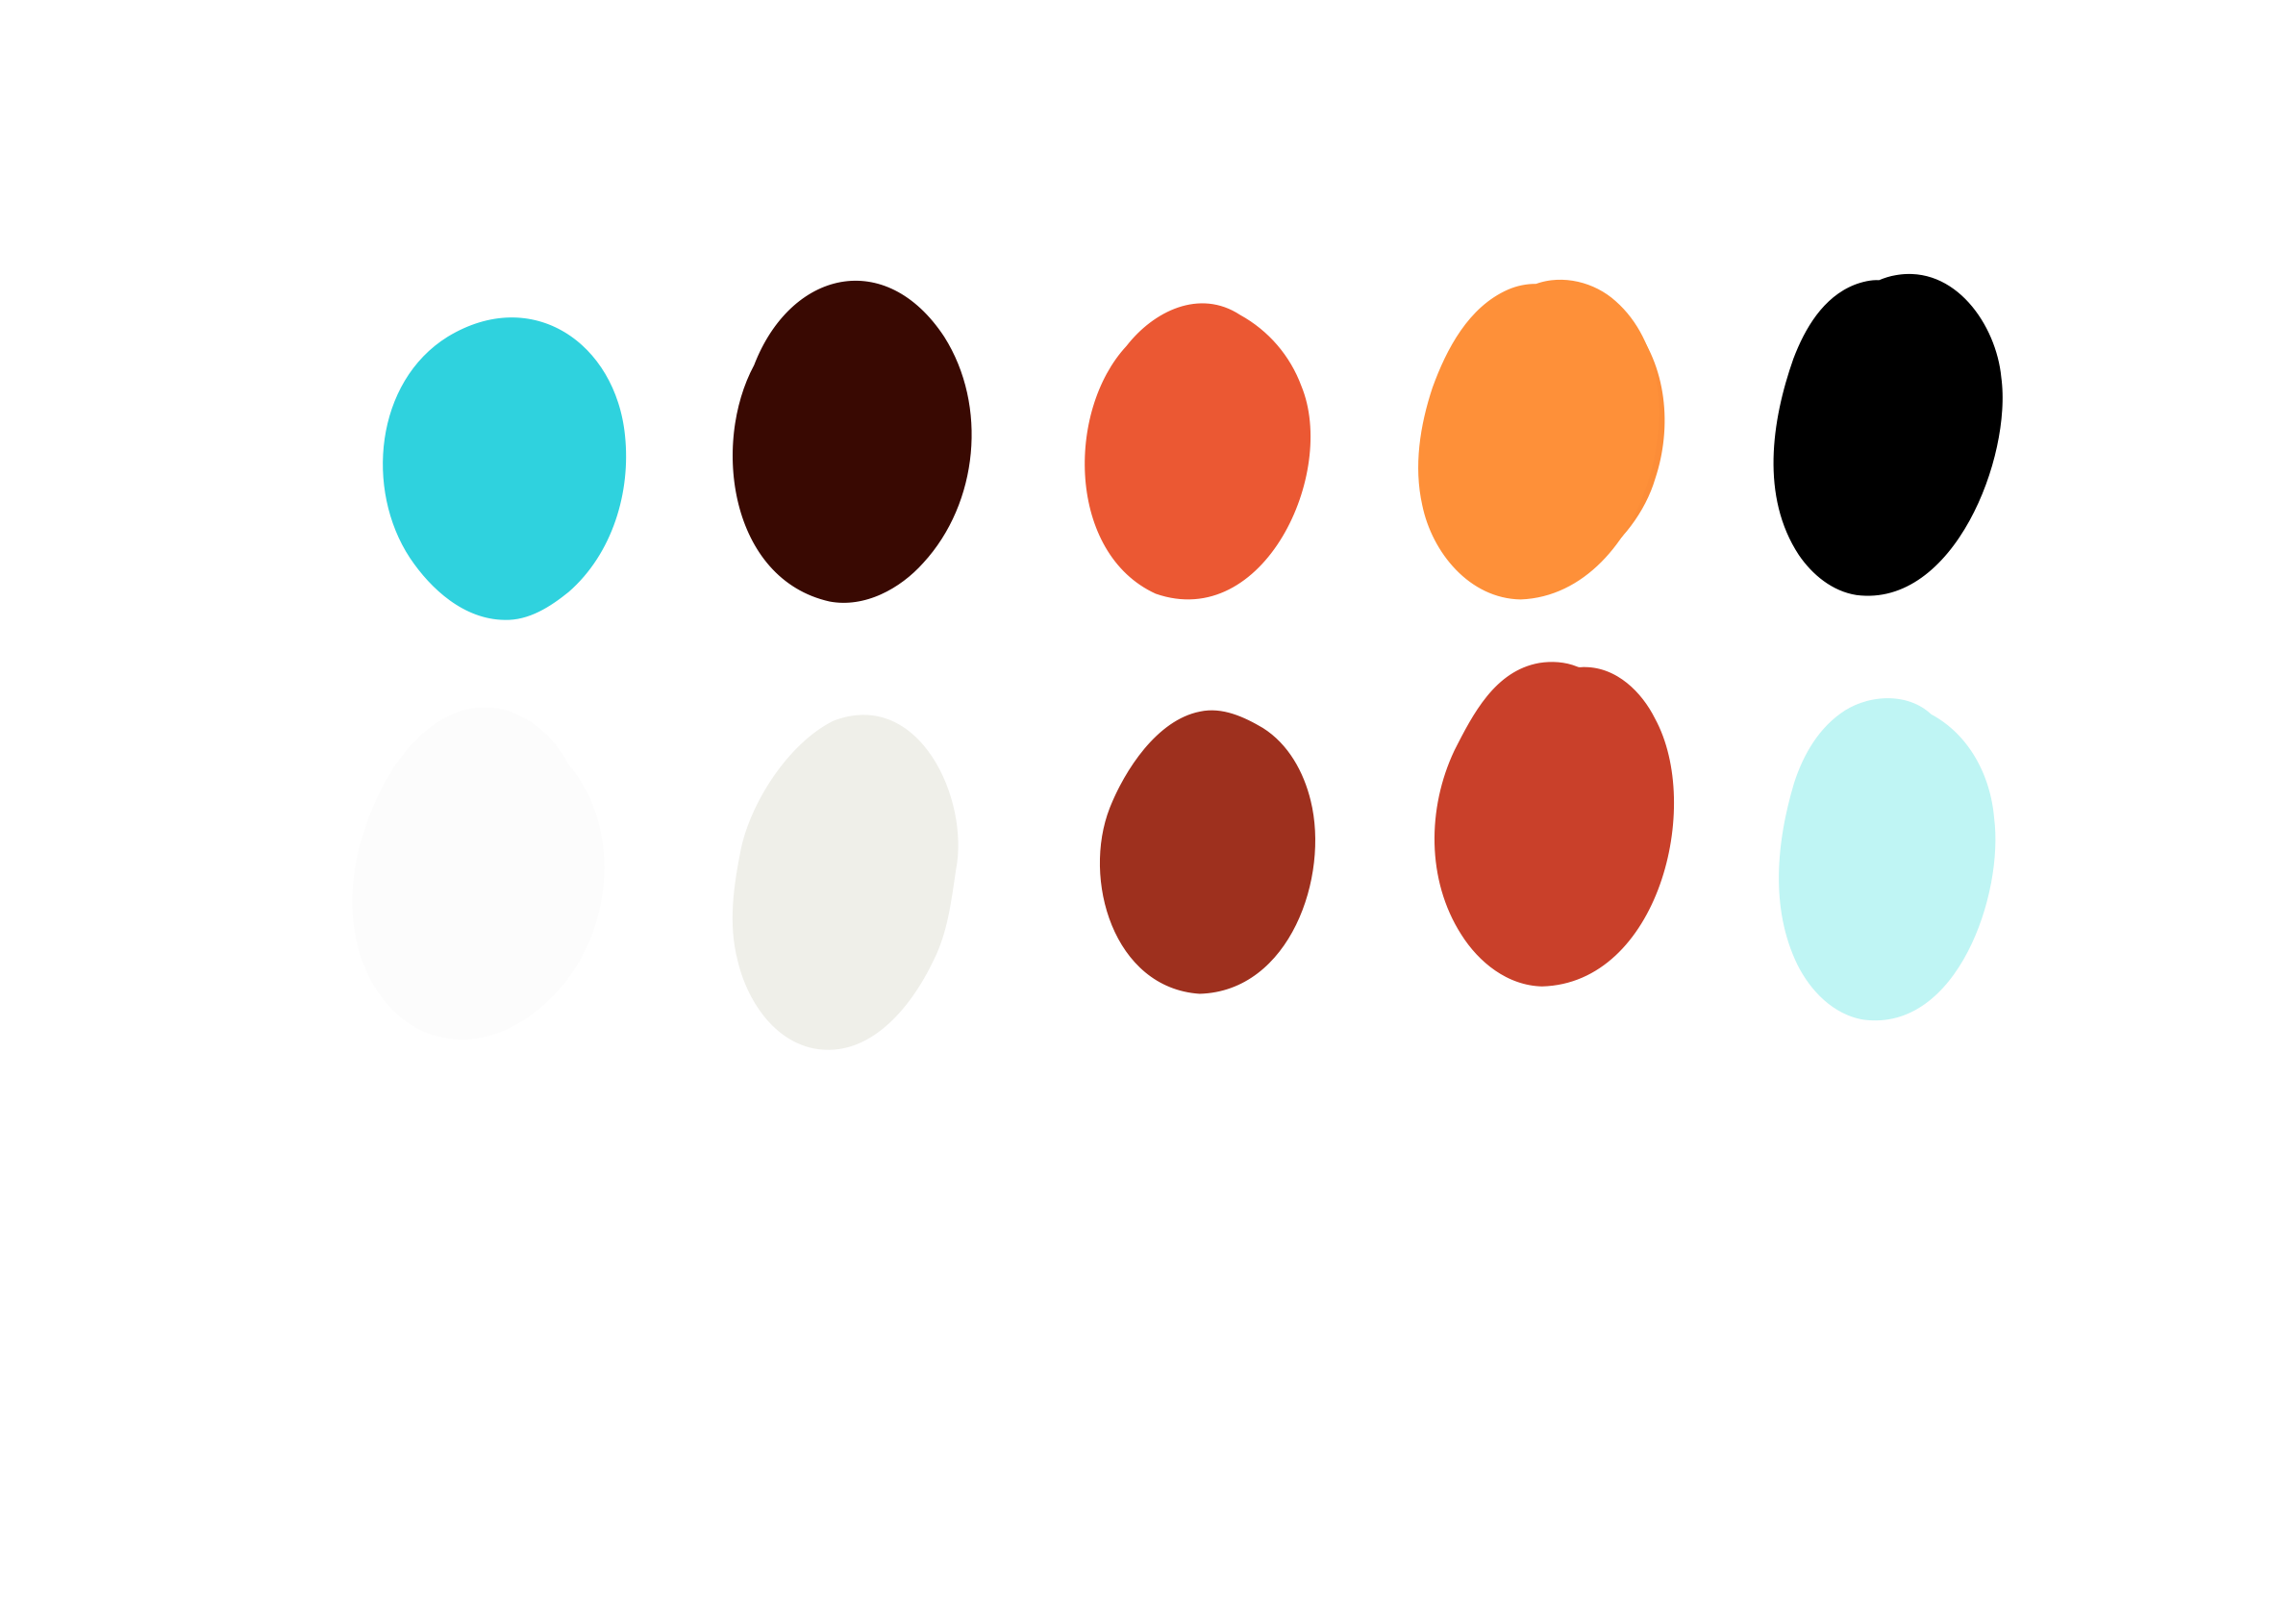
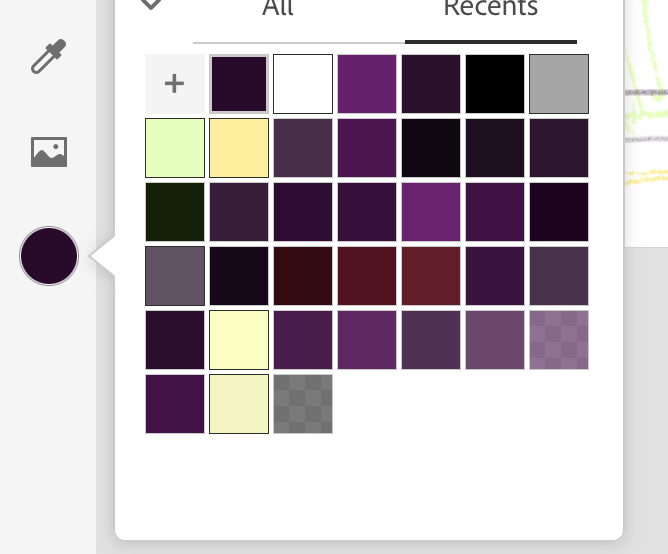
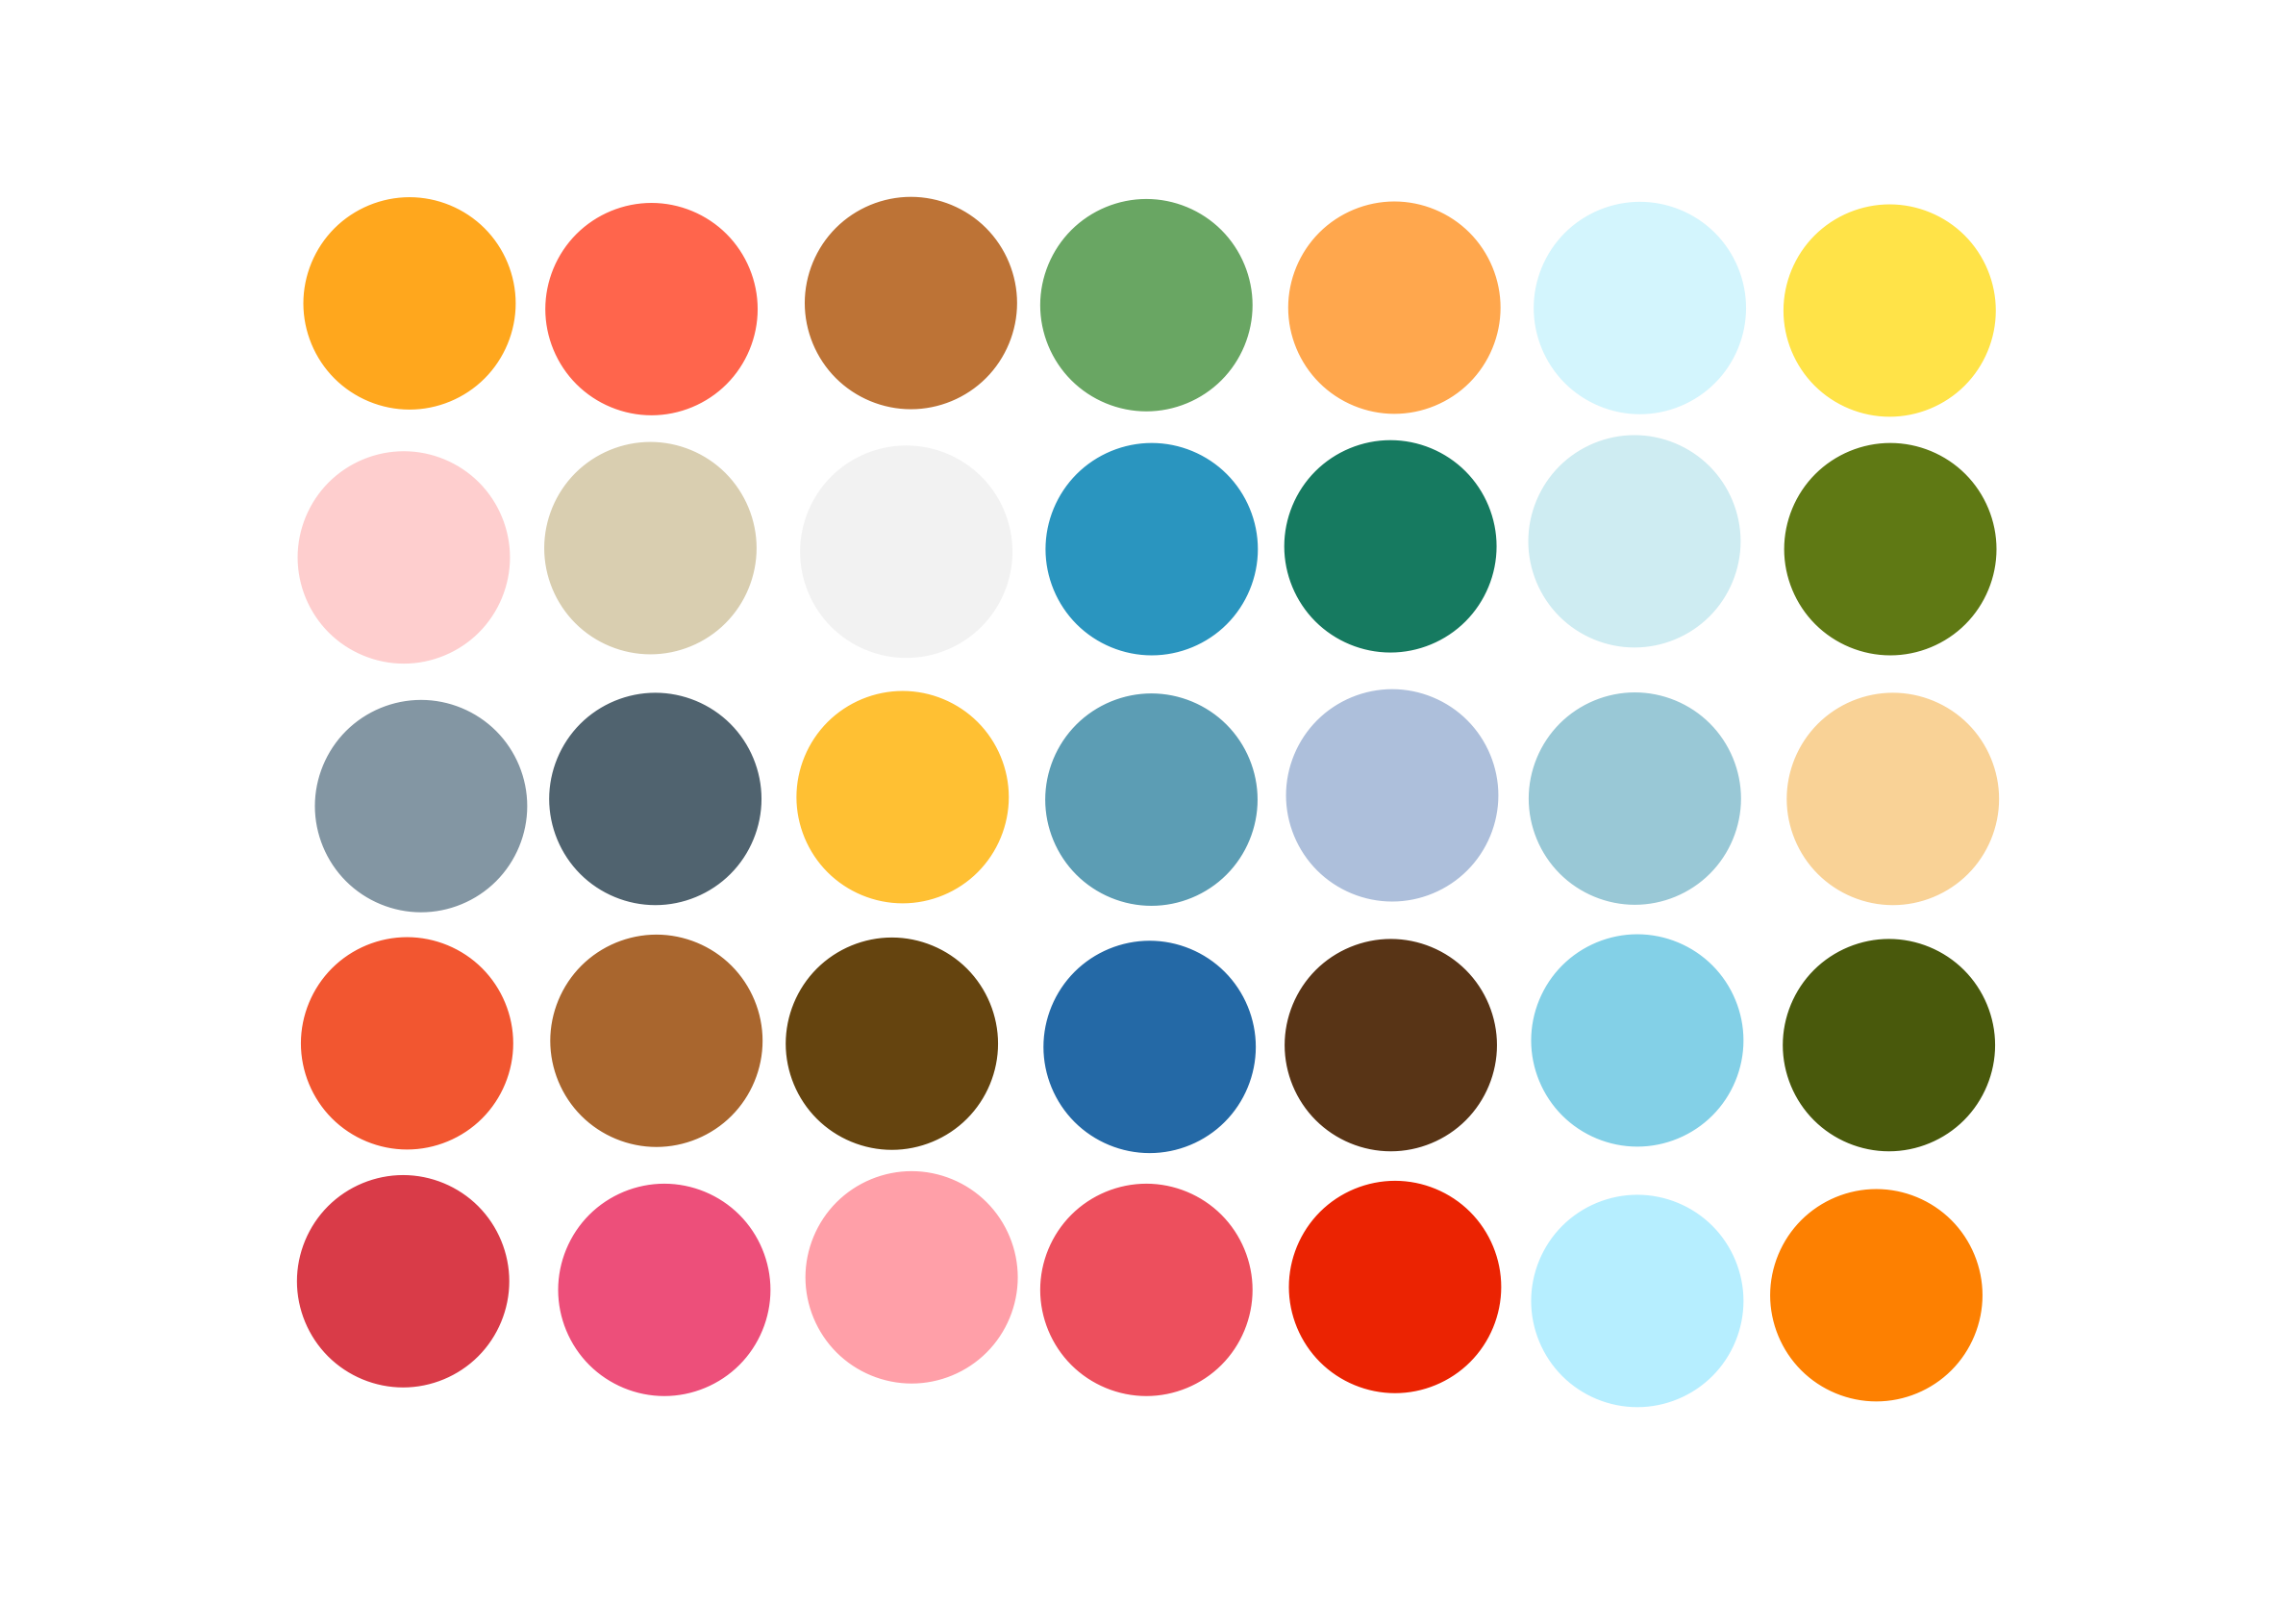
Tap on the brush icon to open the brush library. Choose a brush that suits your style and the type of lines you want to create for your cityscape. You can experiment with different brushes to find the one that works best for you. Also, select your desired colors from the color picker or create a custom color palette. Download the color palette from the link provided above. I also mention all the brushes that I use and the brush settings for each of these brushes.
Step 3: Sketch the outlines
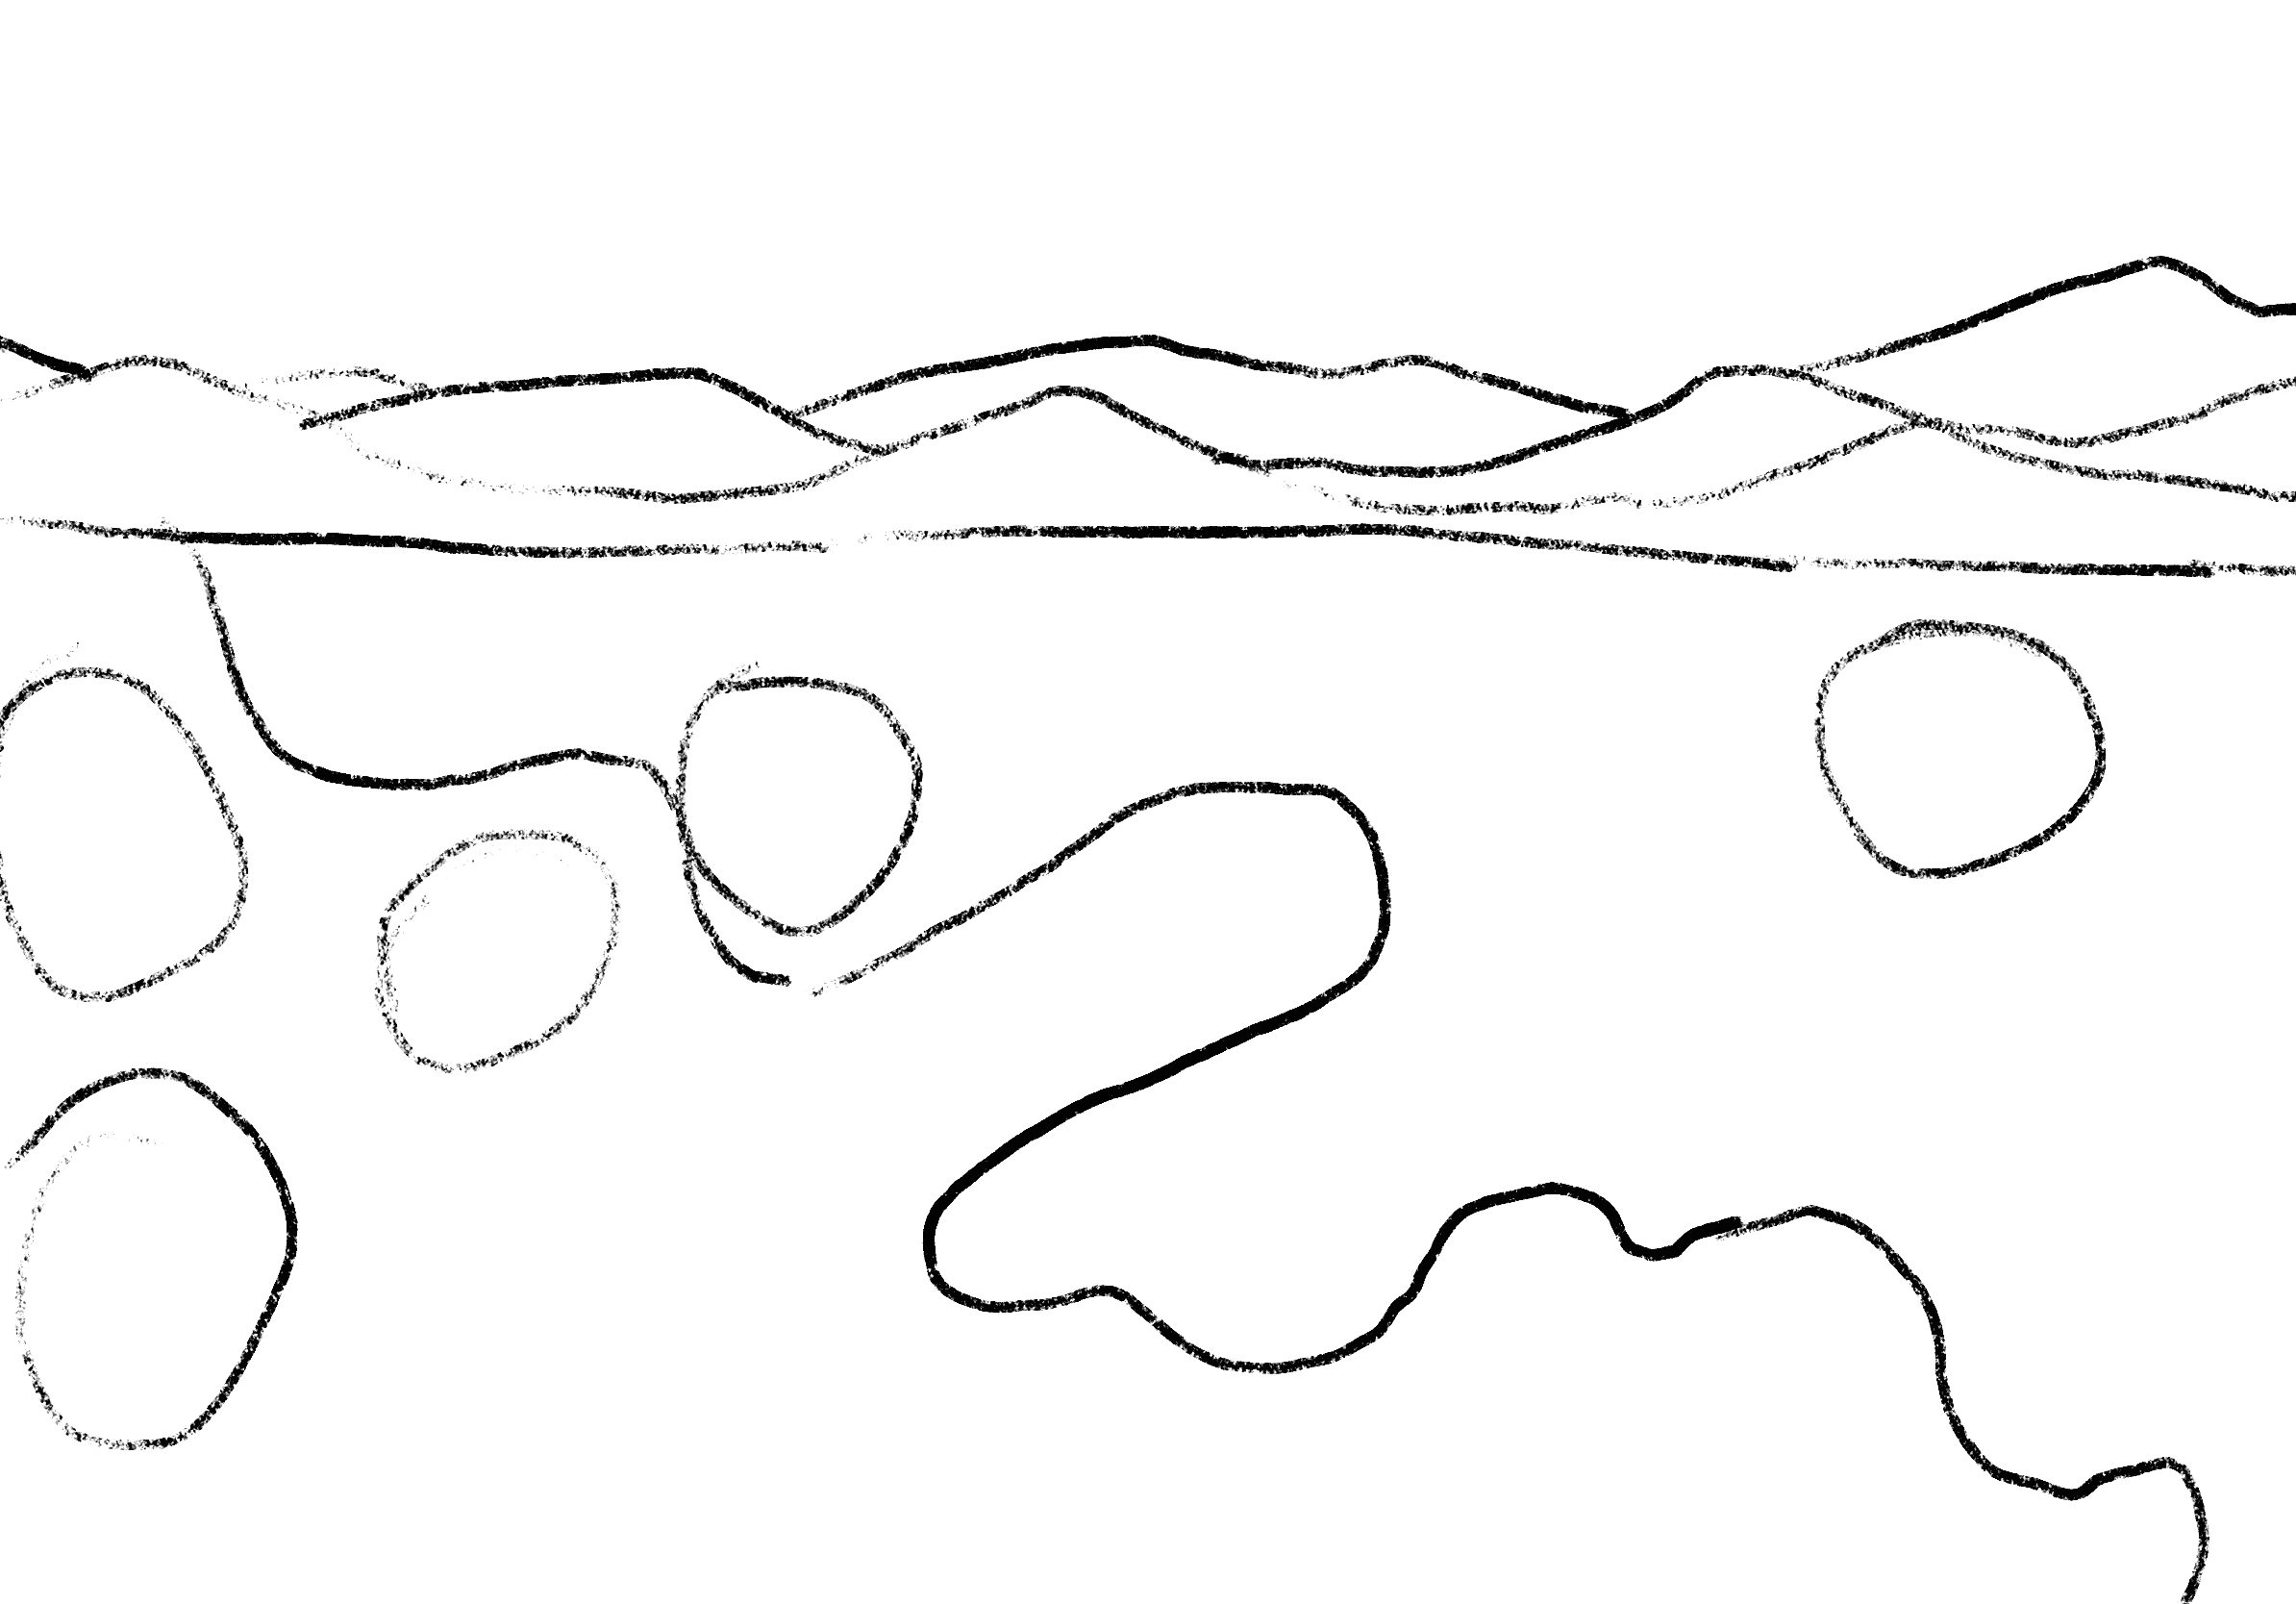
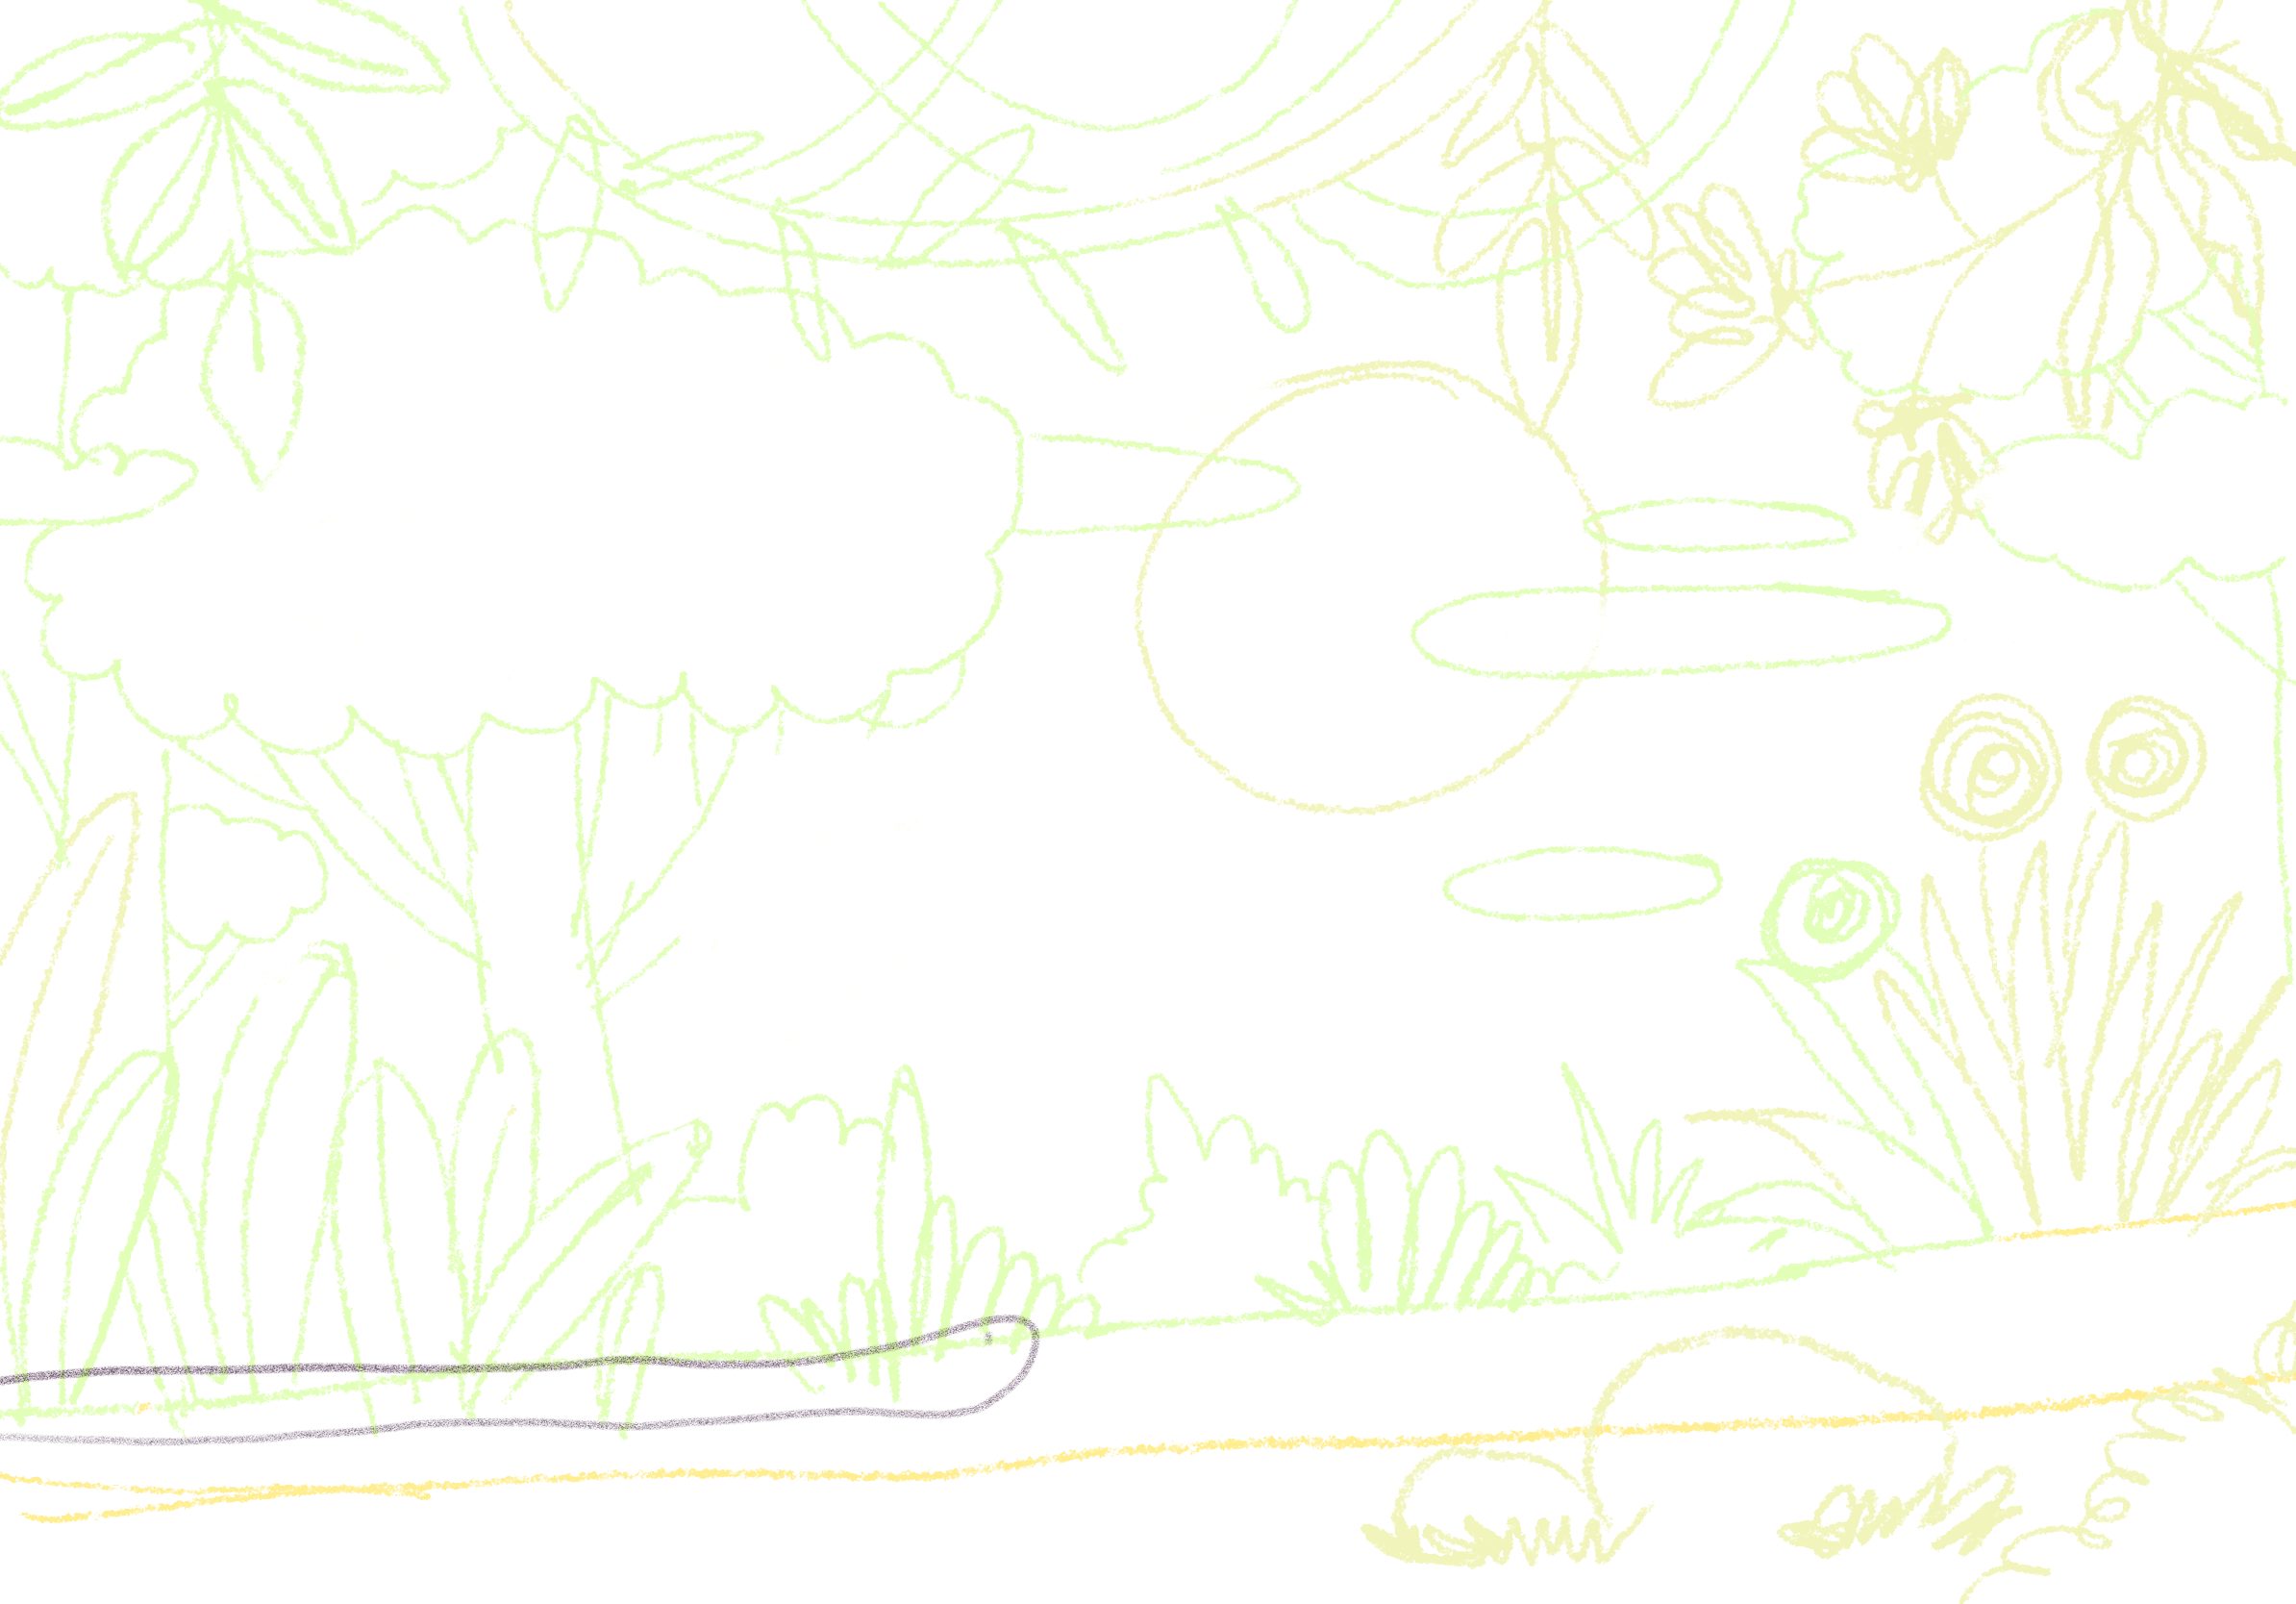
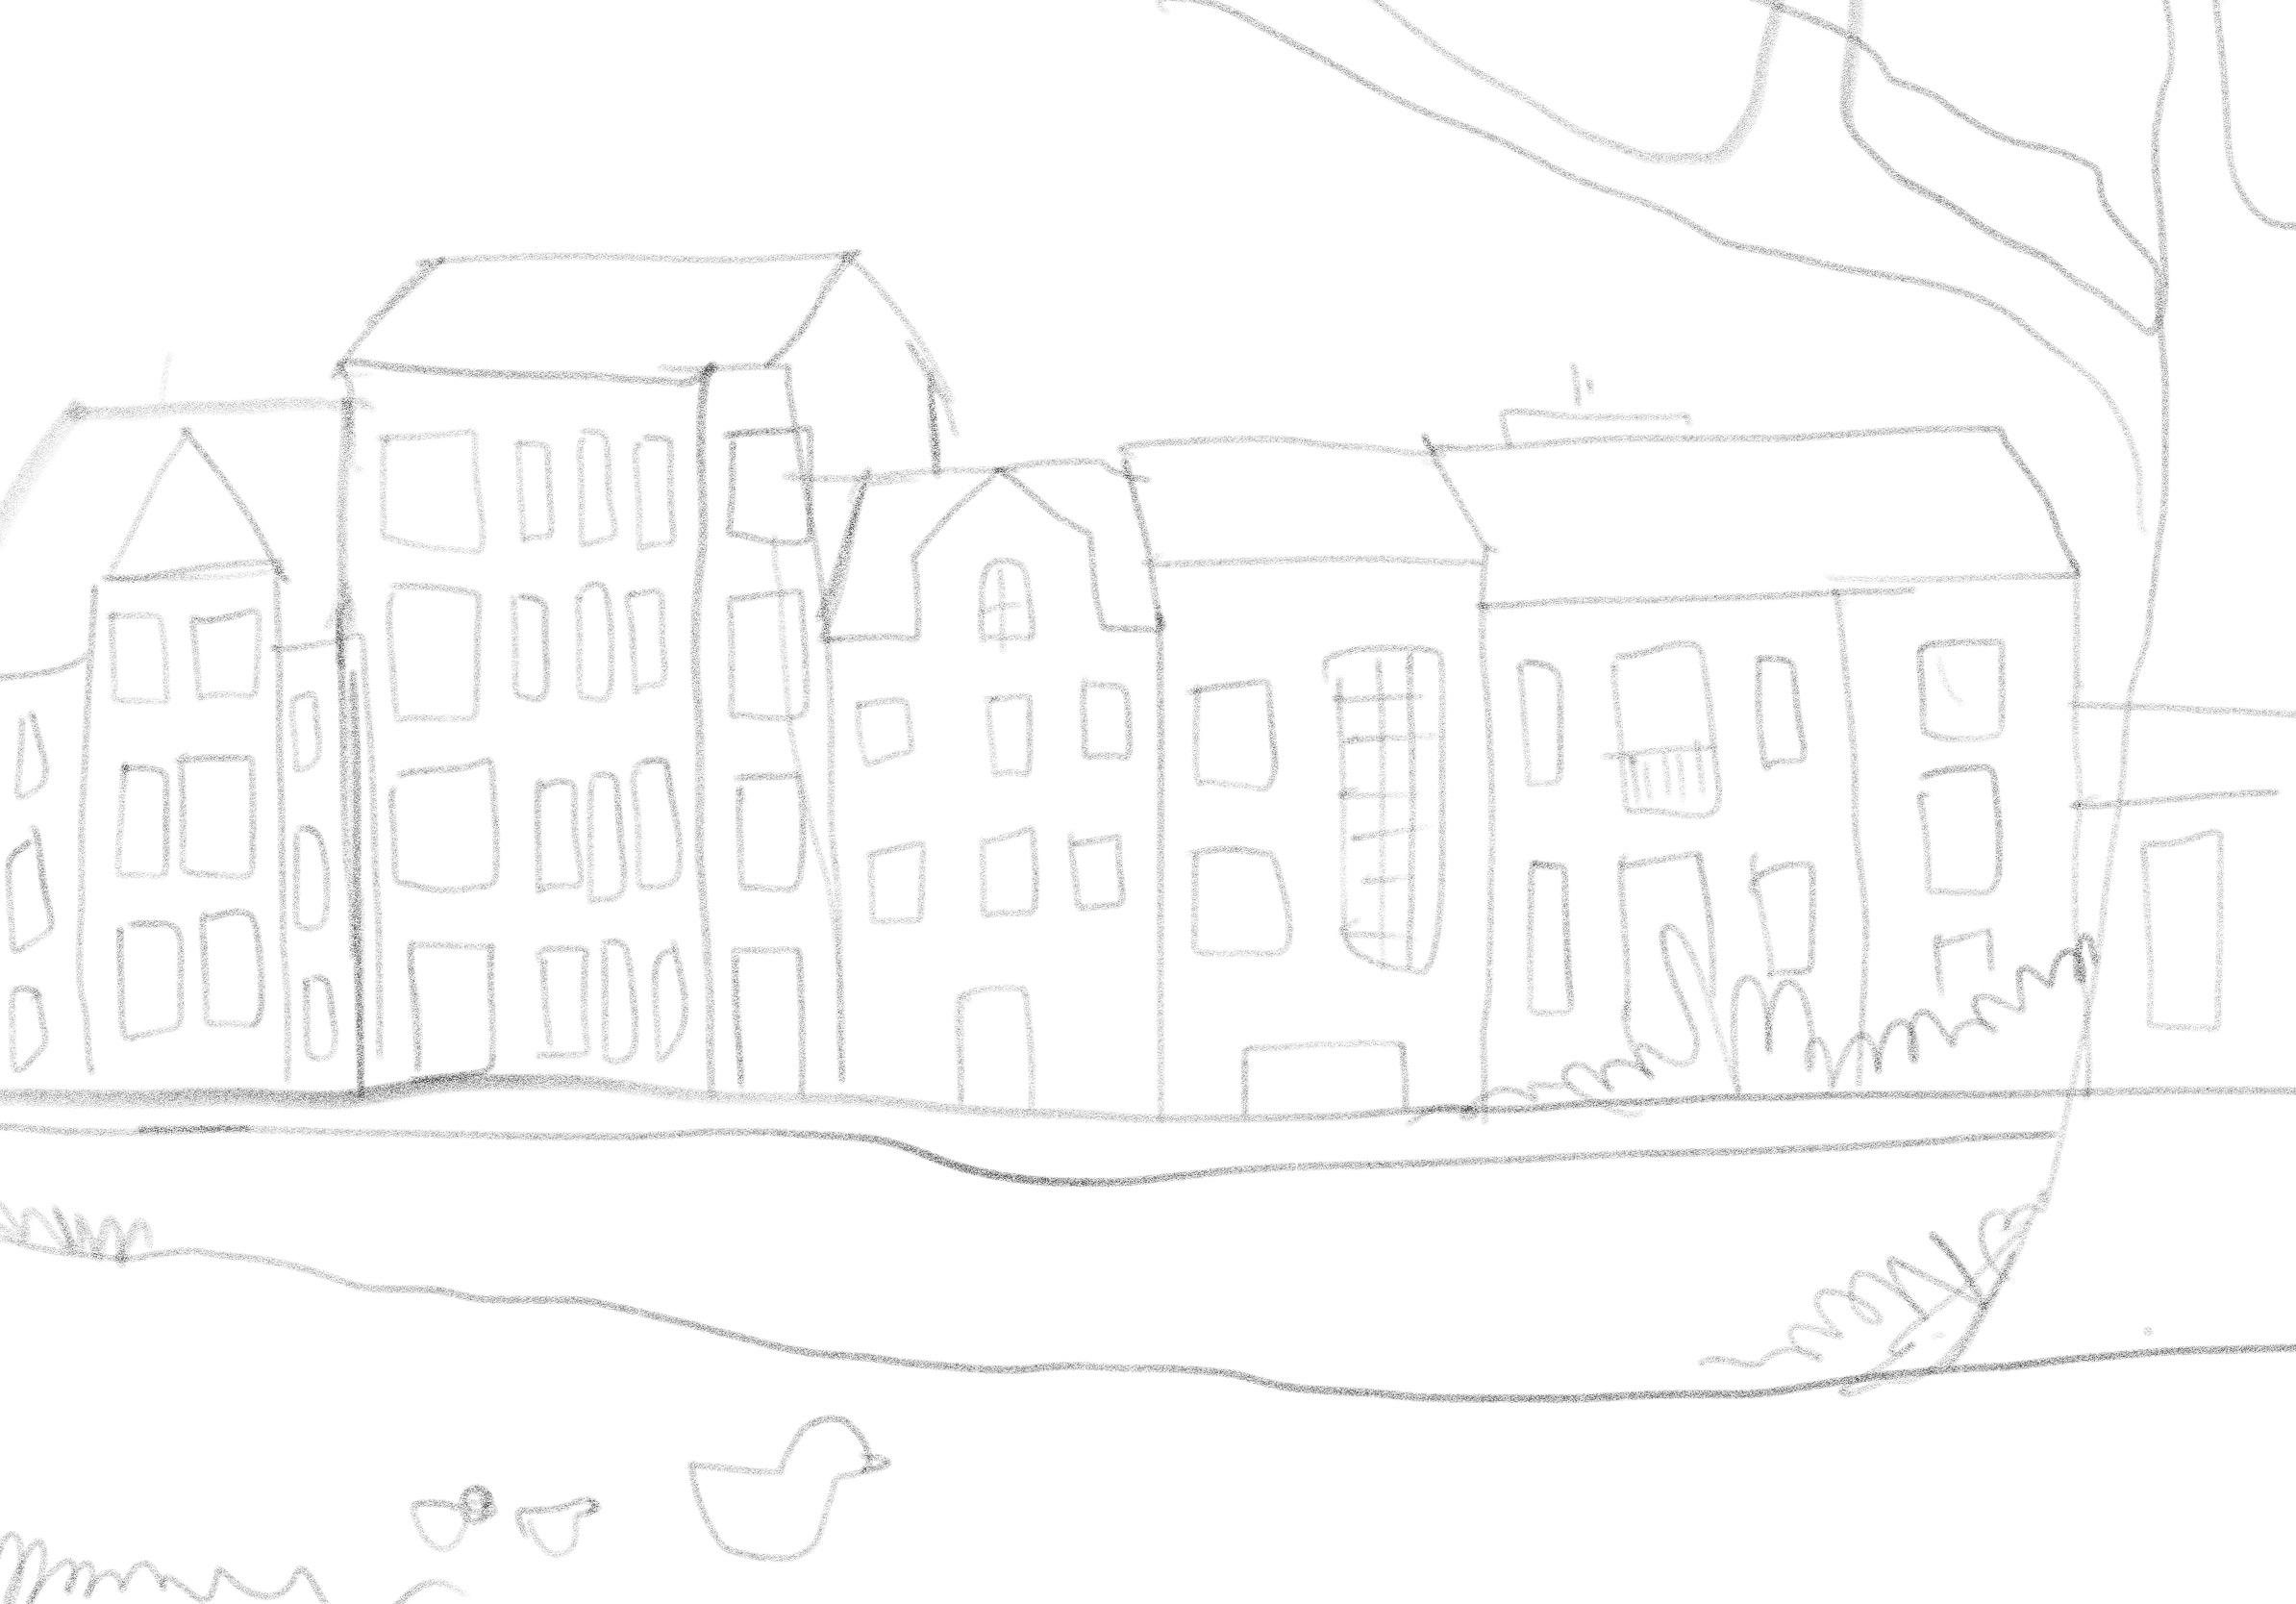
Create a new layer by tapping on the layer icon and selecting “New Layer.” Set the layer blending mode to “Multiply” or “Multiply (linear burn).” This will allow you to sketch the outlines without affecting the colors beneath. Using a lighter color, begin sketching the basic outlines of the buildings, roads, and other elements of the cityscape. Start with simple shapes and gradually add more details. Since I have already provided a sketch for this tutorial (download link provided above), you can just import it and set the layer as multiple.
Step 4: Refine the shapes
Once you have the basic outlines in place, create a new layer above the sketch layer. Lower the opacity of the sketch layer to make it less visible. Using a darker color, refine the shapes of the buildings and other elements, adding more details and adjusting proportions as needed.
Step 5: Add colors and textures
Create a new layer below the outline layers. This will be the layer where you’ll add colors and textures. Start by blocking in the base colors for the buildings, sky, and other elements. Use a combination of solid colors, gradients, and brushes to create interesting textures and effects. Experiment with blending modes and layer opacity to achieve the desired look.
Step 6: Add details and highlights
Create new layers above the color layer to add details and highlights. Use a smaller brush size to add windows, doors, signs, and other architectural features to the buildings. Add highlights and shadows to create depth and dimension. You can also use the eraser tool or layer masks to refine edges and create subtle transitions.
Step 7: Refine and polish
Take some time to step back and evaluate your cityscape illustration. Make any necessary adjustments to colors, values, and details. You can experiment with different brushes, blend modes, and layer adjustments to enhance the overall look of your illustration.
Step 8: Final touches
Once you’re satisfied with your cityscape, merge the layers together or group them for easier handling. You can also add additional elements such as trees, cars, or people to further enhance the scene. Experiment with different layer effects, such as overlays, to give your illustration a finishing touch.
Step 9: Save and export
When you’re ready to save your cityscape, tap on the share/export icon. Choose the desired file format (such as PNG or JPEG). You can save the image to your device or share it directly to social media platforms or other applications.
That’s it! With these steps, you can illustrate a beautiful cityscape using Adobe Fresco. Remember to practice and experiment with different techniques to develop your own unique style. Enjoy your creative journey!


