

In today’s tutorial we will learn to create this paper cut out effect or 3D pattern in Adobe Fresco. If you are new to Fresco, don’t forget to check out my Fresco playlist on YouTube.
Let’s get back to the pattern, while this pattern is pretty easy to create in Procreate, it is a bit of work in Fresco. I had to come up with innovative ways to make this as simple as possible.
So what’s the one thing that makes this possible in Fresco? Selection tool!
We will first create a pattern based on circles and learn the entire process to do it. Next, we’ll learn how to expand this skill to create patterns with rectangles and brush selection tool.
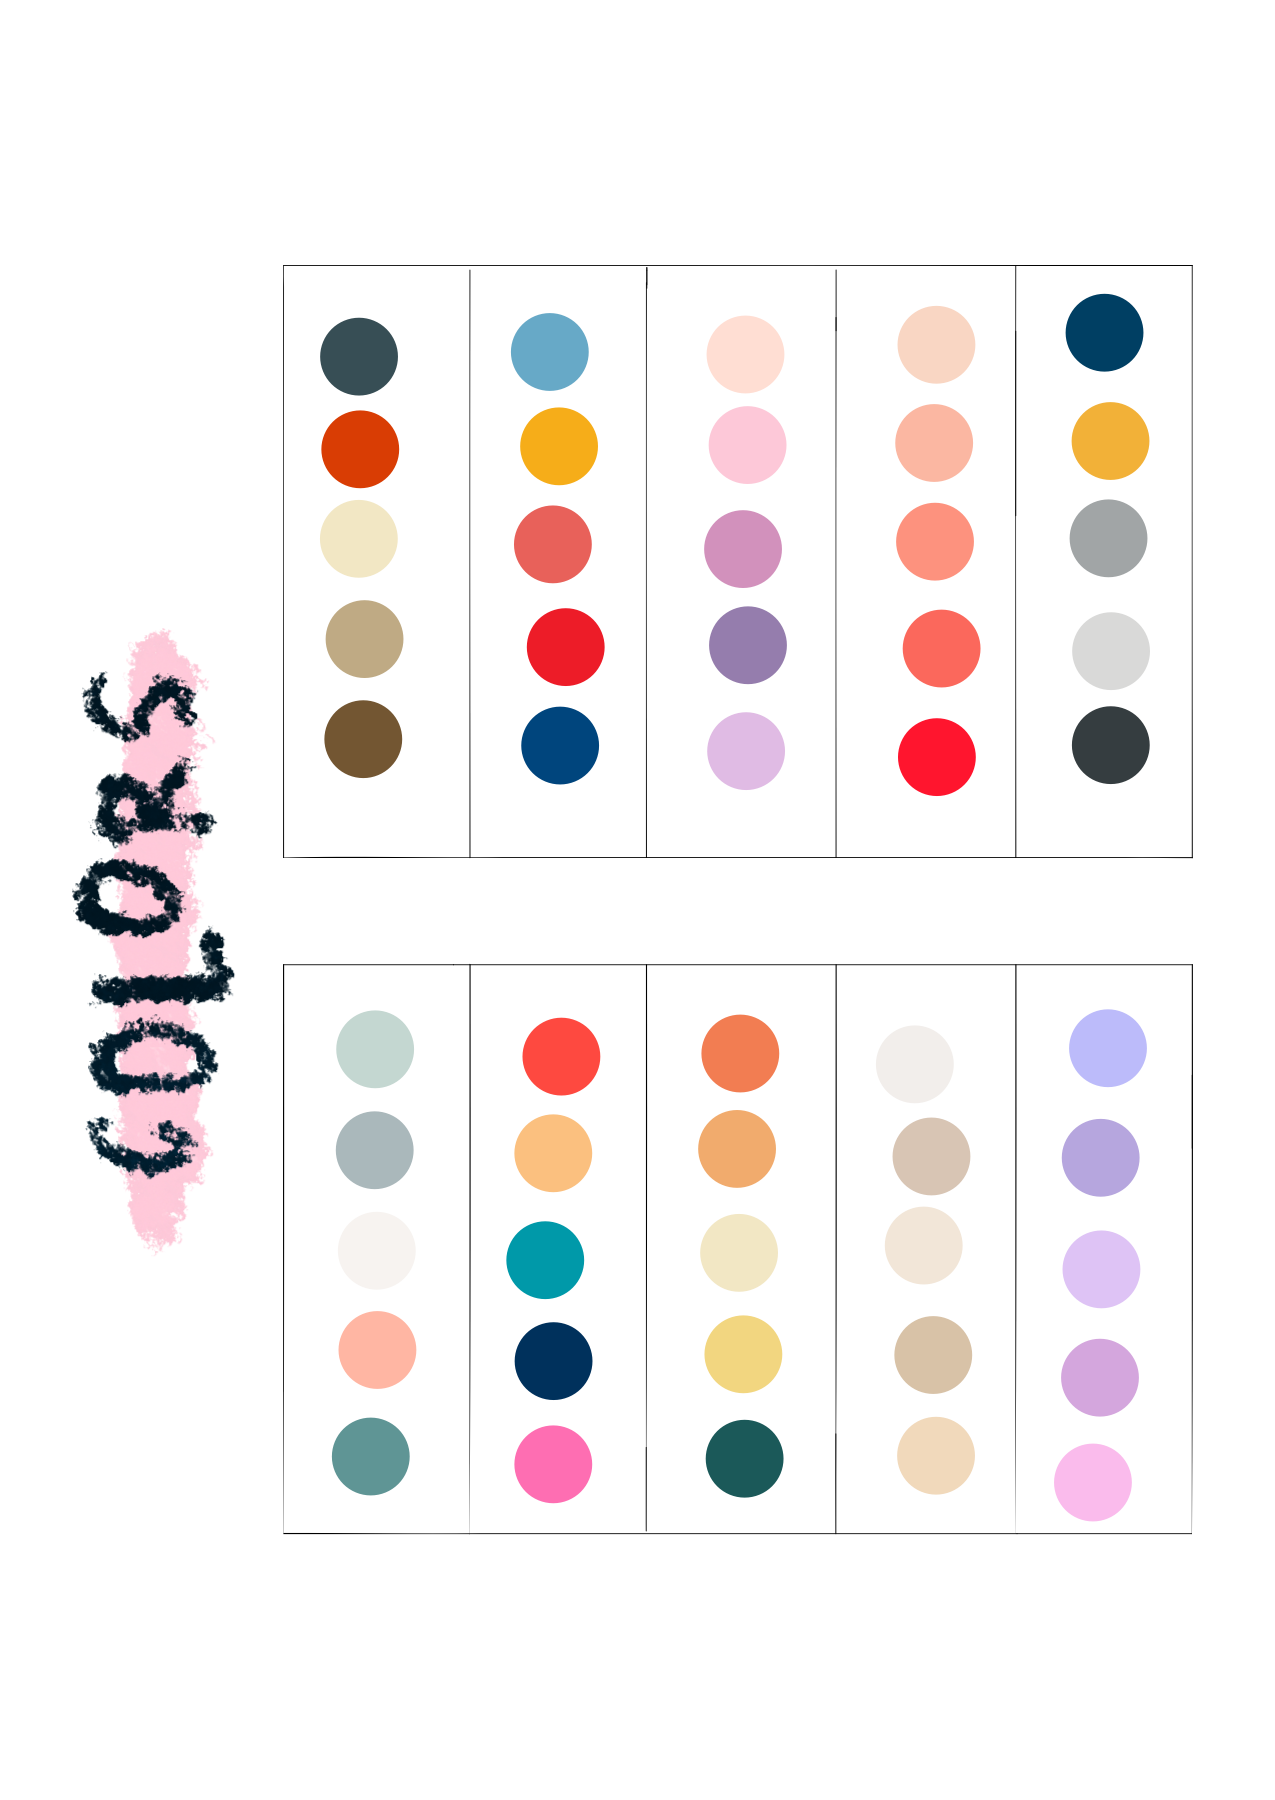
As usual, I have a color palette for you guys. In fact, I have more than one color palette, download them here:

We will also learn to create the following patterns:


Pin it for later

Watch how to create Paper Cut Out Effect in Adobe fresco
If you cannot view the video, you can find it here. While you are there, don’t forget to hit subscribe!
Method to create Paper Cut Out Effect in Adobe fresco:
- Let’s pick circles for our first attempt.
- Click on create new and create a digital>square art board
- Click twice on the selection tool and select the circle option
- Draw a circle with your Apple Pencil or any stylus that you are using
- Click on the more option to selection ‘selection overlay’ as your display method for the selection tool
- Draw more circles, in varying sizes to cover up the whole art board. Do not overlap circles
- Click on invert selection once you are done drawing circles
- Use the fill tool to color the layer.
- Create a layer below the above layer
- Choose Basic > soft round opacity, black color and draw a shadow for each circle
- Create a layer above the orange layer
- Choose Basic > soft round opacity, white color and draw a highlight for each circle
- Click on more > select multiple and group the above 3 layers
- Duplicate the layer group, and rotate by 90 degrees. Change the color of the base layer
- Repeat the process one more time
- Your artwork is ready!
- Try for different shapes in the selection tool panel.
If you liked this video on how to draw Easy oil paint Tulips and want to learn more above Fresco, I have a whole playlist of Adobe Fresco tutorials on youtube which you can find here and the entire list of tutorials on this blog here.
I hope you have fun exploring this tool. If you get stuck somewhere, don’t forget to leave a comment and I’ll try to help you out! You can also share this post on Facebook and other social media to support me.
Paper Cut Out Effect in Adobe fresco


No Comments